One broken element is a specimen; repeated positions turn it into a system investigation
A replacement may restart the machine, but it does not explain why the needle failed. Preserve the element, its position, associated fabric and operating history before the evidence is lost in routine disposal.
Create a failure number for every material break and place the removed element in a labelled container. Record full part designation, batch, cylinder or dial duty, exact position, machine model, current structure, yarn lots, operating event and observed fabric coordinate. Use supplier terminology for visible damage and qualified analysis for fracture conclusions. A photograph can document shape; it cannot establish metallurgy, residual stress or root cause.
Manufacturer technical material describes several damage paths, including overload, wear, contamination, inadequate lubrication and chemical effects. Those categories guide evidence collection rather than proving a cause in a particular mill. Inspection and corrective work must follow the exact machine and element documentation. Change one supported layer where possible and mark the restart fabric so a new break or defect can be linked to the intervention.
Log 01 - stop disposal and preserve the failure chain
Note the stop time, alarm or operator observation, machine position and whether fragments were recovered. Mark the corresponding course and wale area on the roll. Save the active packages and do not mix the broken needle with general scrap. Photograph the element at useful scale without cleaning away deposits that may matter to later review.
Record whether the event followed startup, speed change, package change, maintenance, style conversion, abnormal sound or prior fabric defect. If operation could cause further damage or unsafe access, hold the machine for qualified inspection. The first log should describe observations, not convert them into a confident cause.
Log 02 - distinguish isolated damage from position, batch and duty patterns
Plot failures by cylinder or dial location, element designation and batch, yarn path, structure and elapsed operating exposure available from the mill. Compare neighboring elements through the permitted inspection procedure. A repeating position suggests a different path from failures distributed across one new batch or one abrasive yarn program.
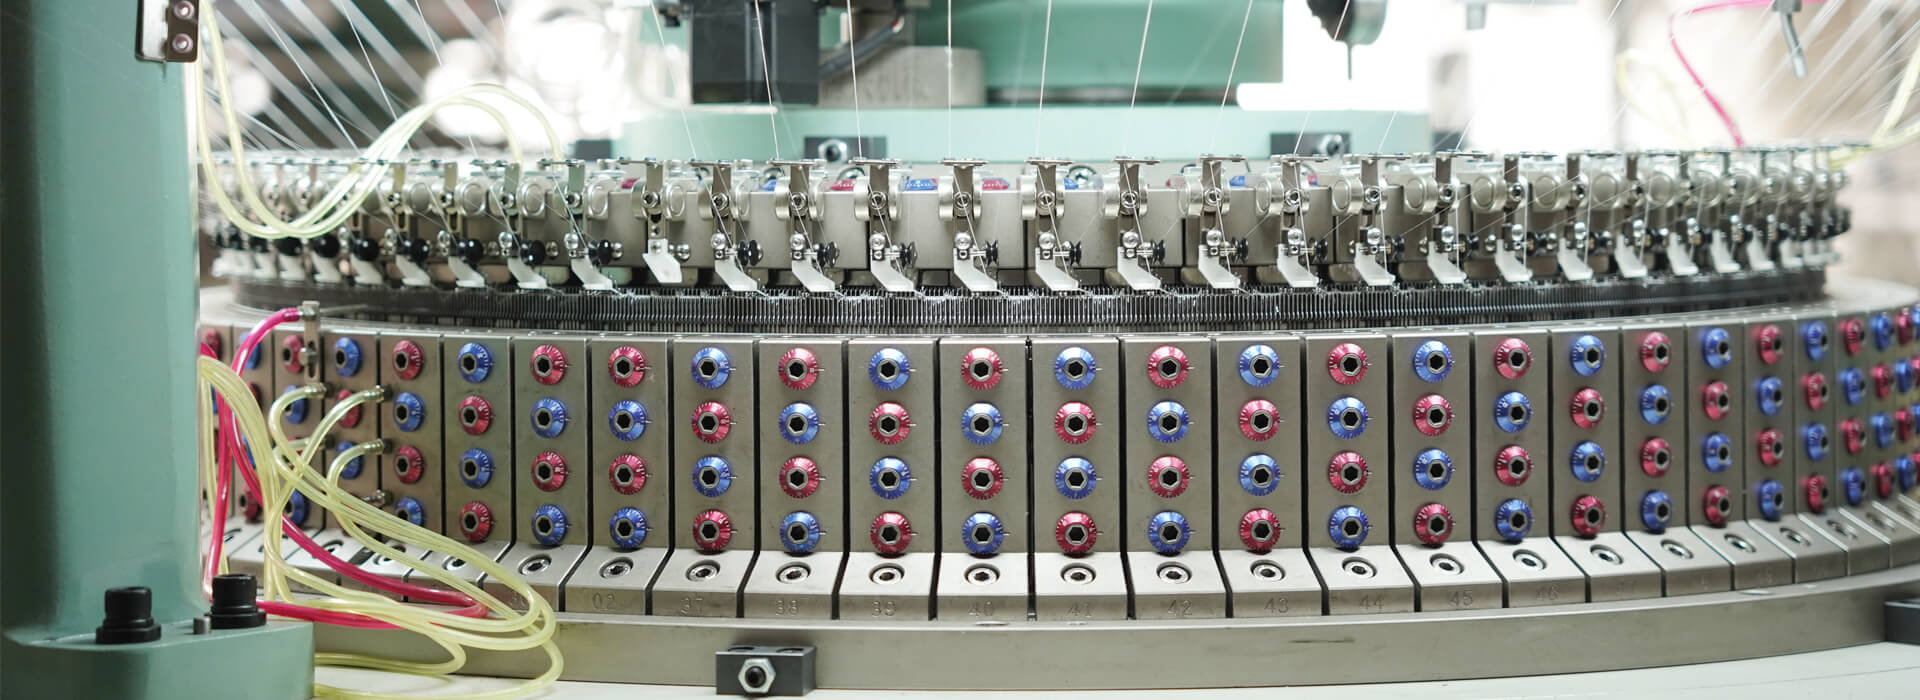
Review associated sinkers, jacks, cams, tricks, guides, yarn delivery, take-down and observable contamination or lubrication evidence without assigning universal adjustment values. Keep the trend neutral enough to show when several hypotheses remain. Replacing an entire set before mapping recurrence may erase the distinction that makes diagnosis possible.
Log 03 - select a model-specific correction and protect the baseline
Confirm replacement elements by complete supplier designation and machine position, including mating parts where relevant. For a suspected system condition, use the manufacturer procedure and qualified role to inspect or correct it. Do not infer interchangeability from length, gauge or visual similarity, and do not polish, bend or modify elements outside approved guidance.
Write the single corrective hypothesis, affected locations, responsible person and acceptance observation before work starts. If safety, parts identity or documentation is uncertain, escalate rather than experimenting. Retain one unused reference from the installed batch and keep removed neighboring parts when they contribute to the comparison.
Log 04 - prove the restart in fabric and through continued exposure
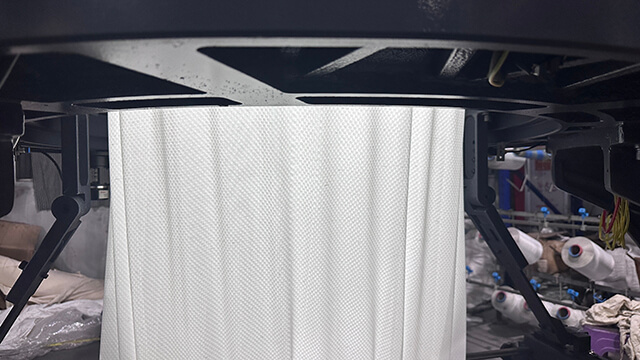
Mark the first fabric after work and run the same yarn and structure through warm-up, the former repeat, routine package handling and stop-restart conditions. Inspect for holes, lines, dropped areas, filament damage and new marks. A machine that rotates without immediate breakage has not yet demonstrated a stable production correction.
Continue the failure ledger across a meaningful exposure defined by the mill and supplier. Compare break frequency and positions with the previous period using like-for-like duty. Close the case only when the original cluster falls, fabric remains accepted and no unexplained element substitution or process change confounds the result.
Preserve the failed element before routine disposal.Map recurrence by exact machine position and product duty.A marked restart connects the correction to accepted fabric.
Needle-breakage service record
Record field
Minimum identity
Comparison
Escalation trigger
Failed element
Full code, batch, bed
Unused and neighboring elements
Unknown part identity
Location
Machine coordinate and fabric mark
Repeat positions
Cluster continues
Operating event
Yarn, structure, stop history
Like-for-like prior duty
Several layers changed
Restart
Correction and marked roll
Accepted exposure trend
New defect or break
Needle-breakage investigation questions
Is replacing the broken needle enough?
It may restart production, but repeated failure needs a position, part, yarn and system record to prevent recurrence.
Can a photograph identify the fracture cause?
It documents visible condition; specialist examination may be needed for a defensible material or fracture conclusion.
Should neighboring needles be replaced automatically?
Follow the exact manufacturer and mill procedure. Preserve evidence before broad replacement changes the pattern.
Can a similar-looking needle be substituted?
No. Confirm the complete designation, machine duty and mating system with the supplier.
How is the correction verified?
Mark restart fabric and trend accepted production under comparable yarn, structure and operating exposure.
Conclusion
Needle breakage becomes manageable when every event remains connected to a part, position, product duty and fabric interval. That record separates an isolated damaged element from a repeating machine, batch or yarn pattern. It also prevents an apparently quick replacement from hiding the evidence required for a model-specific and durable correction.
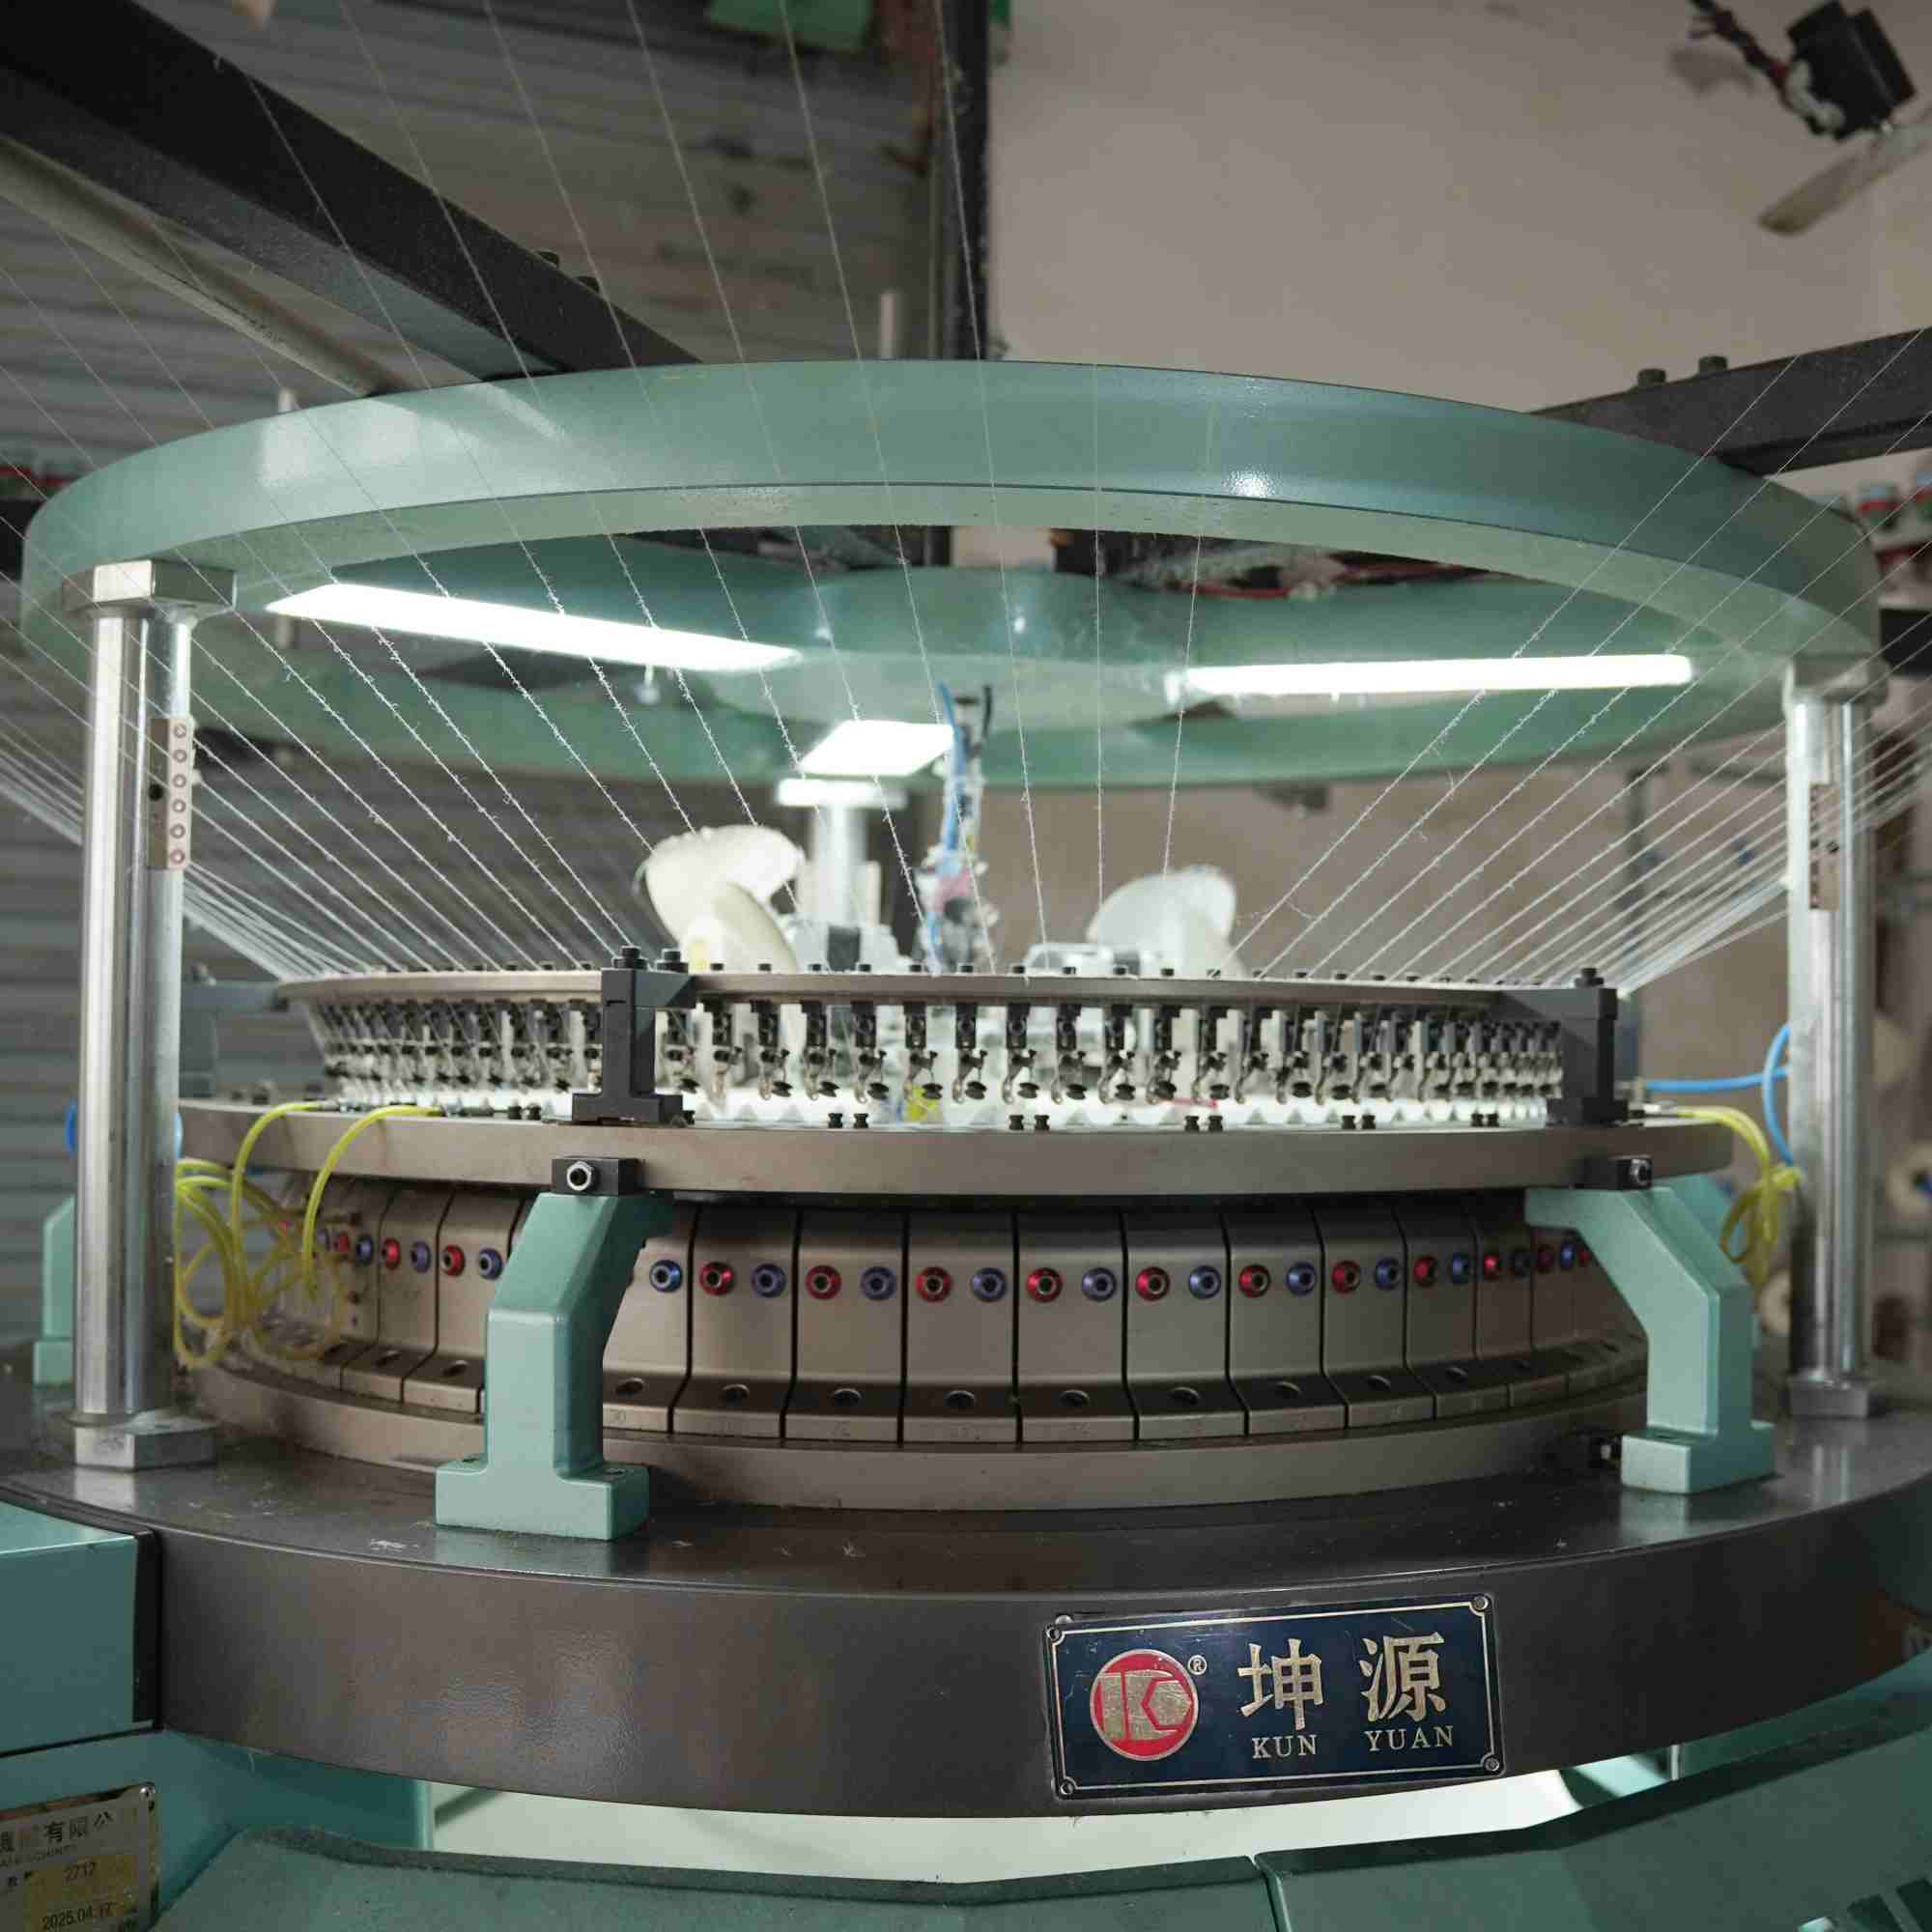
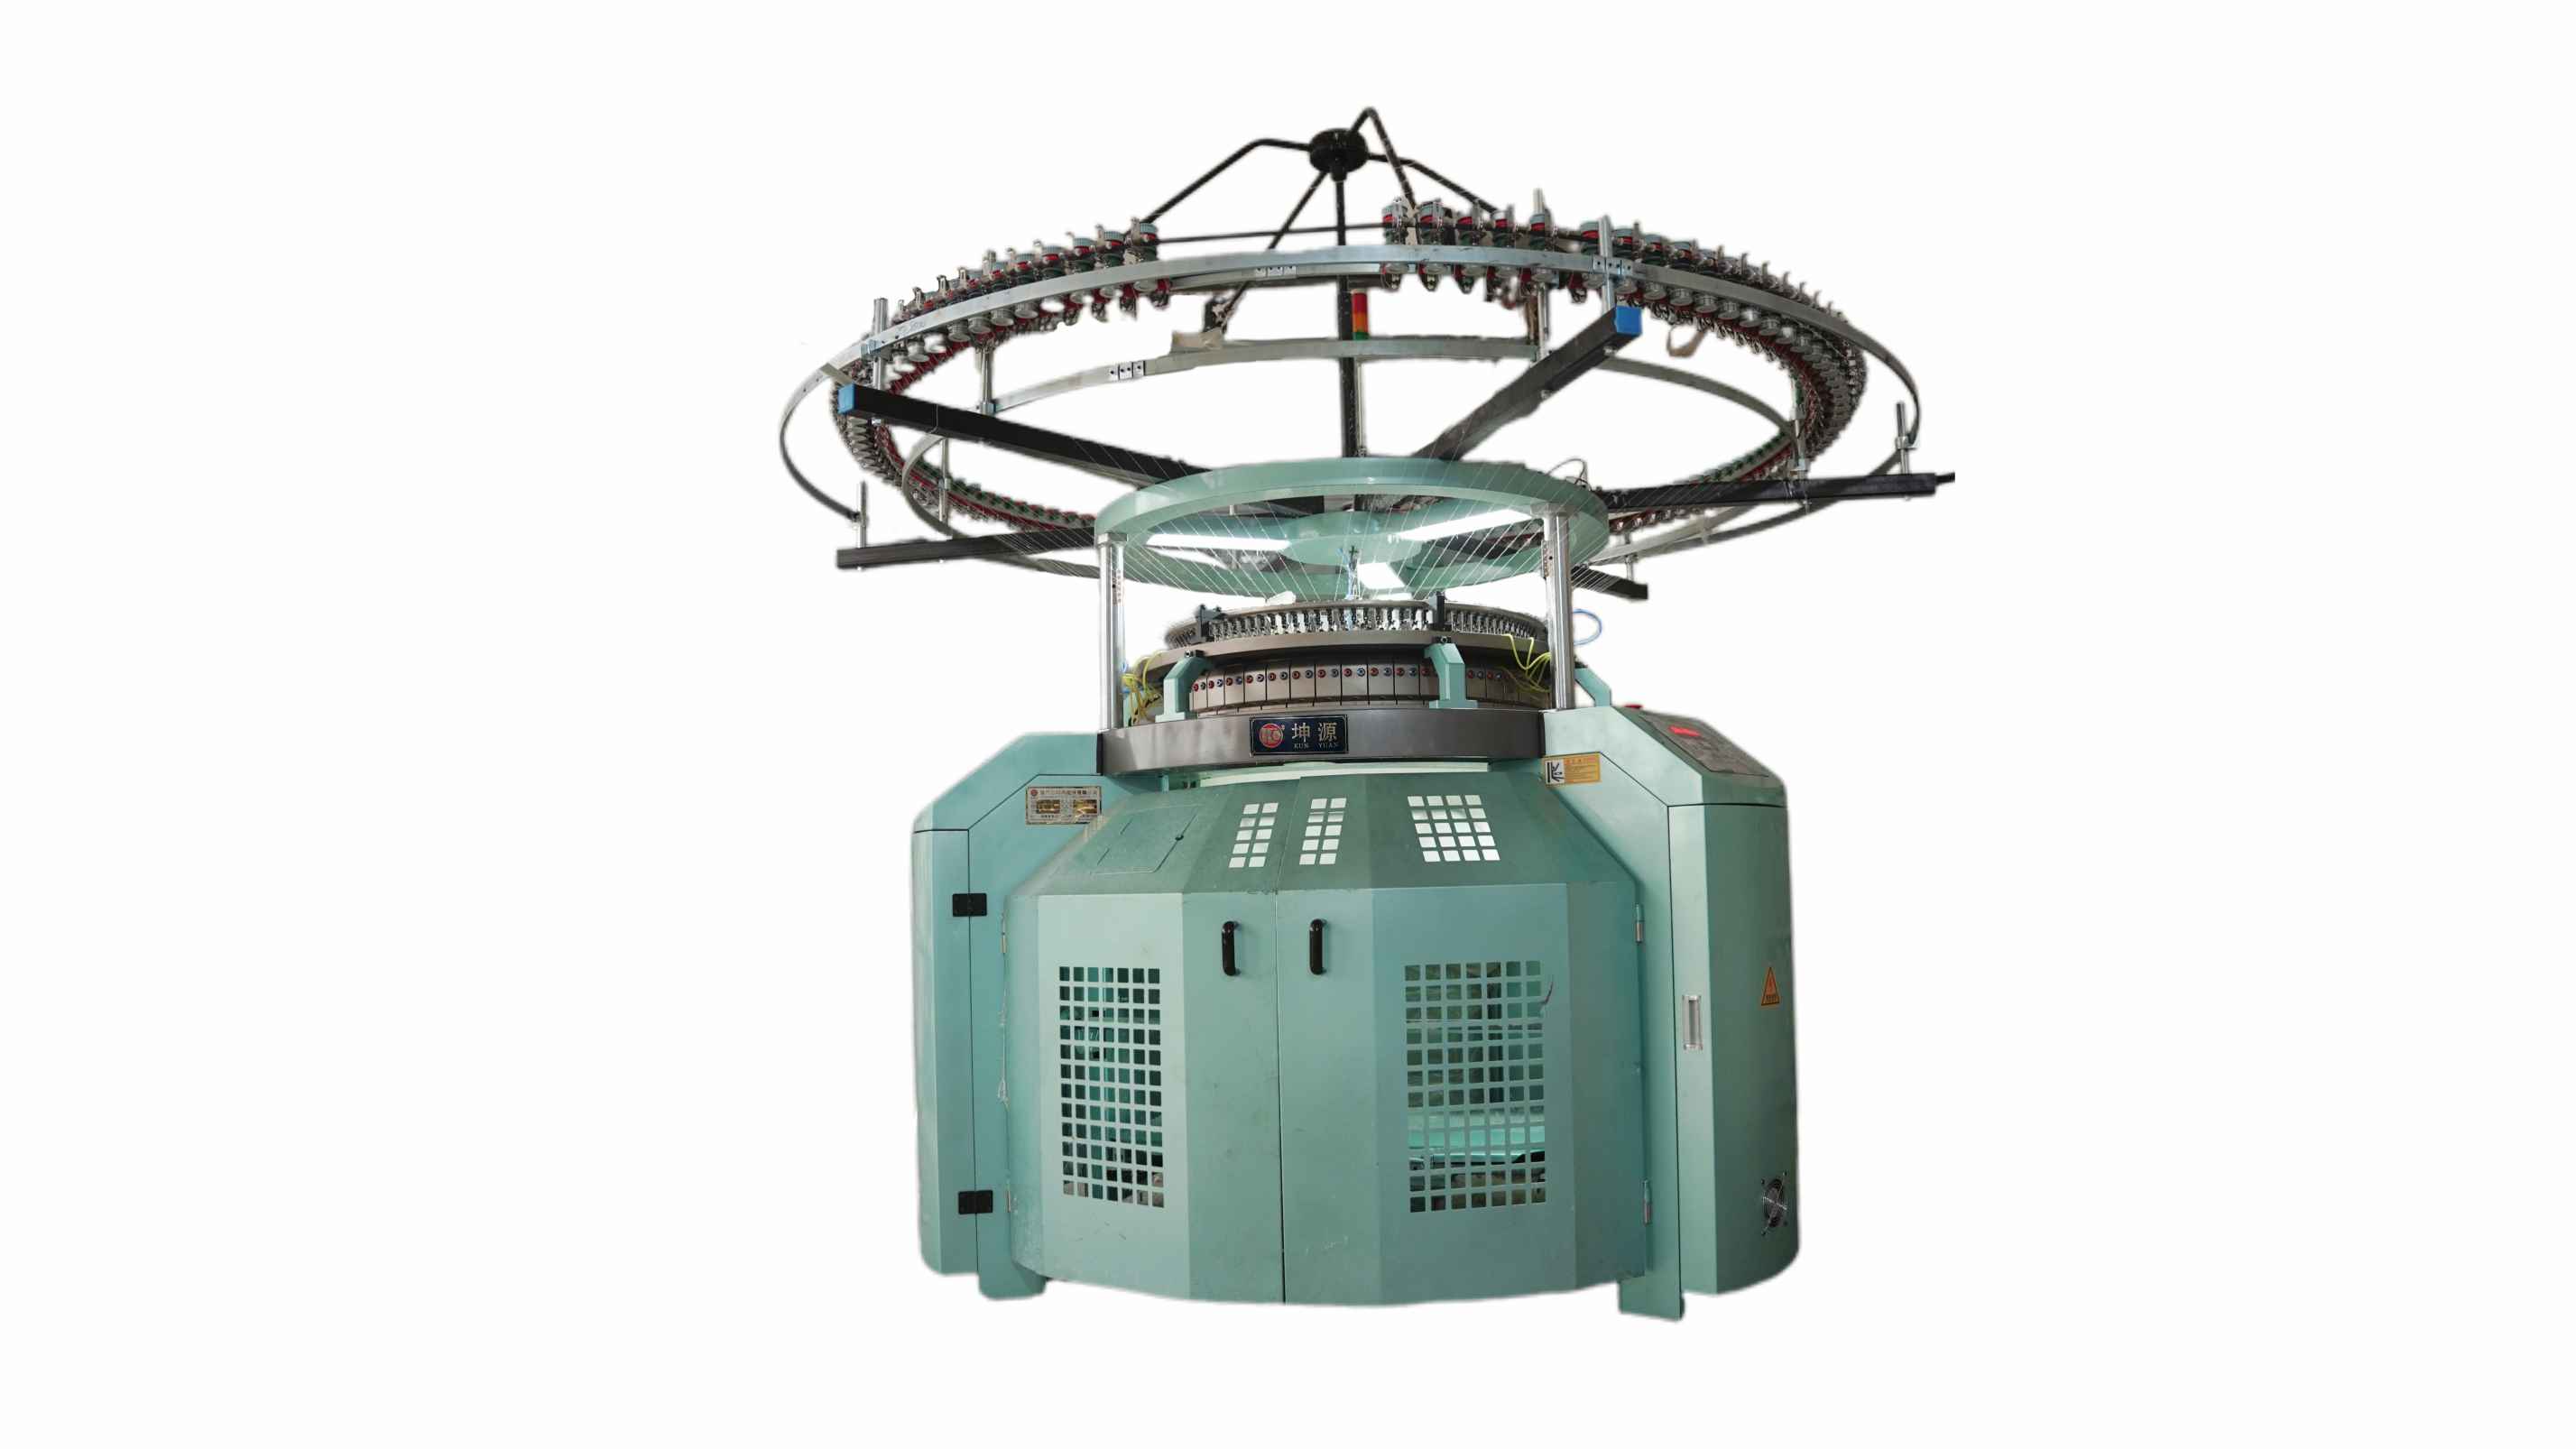
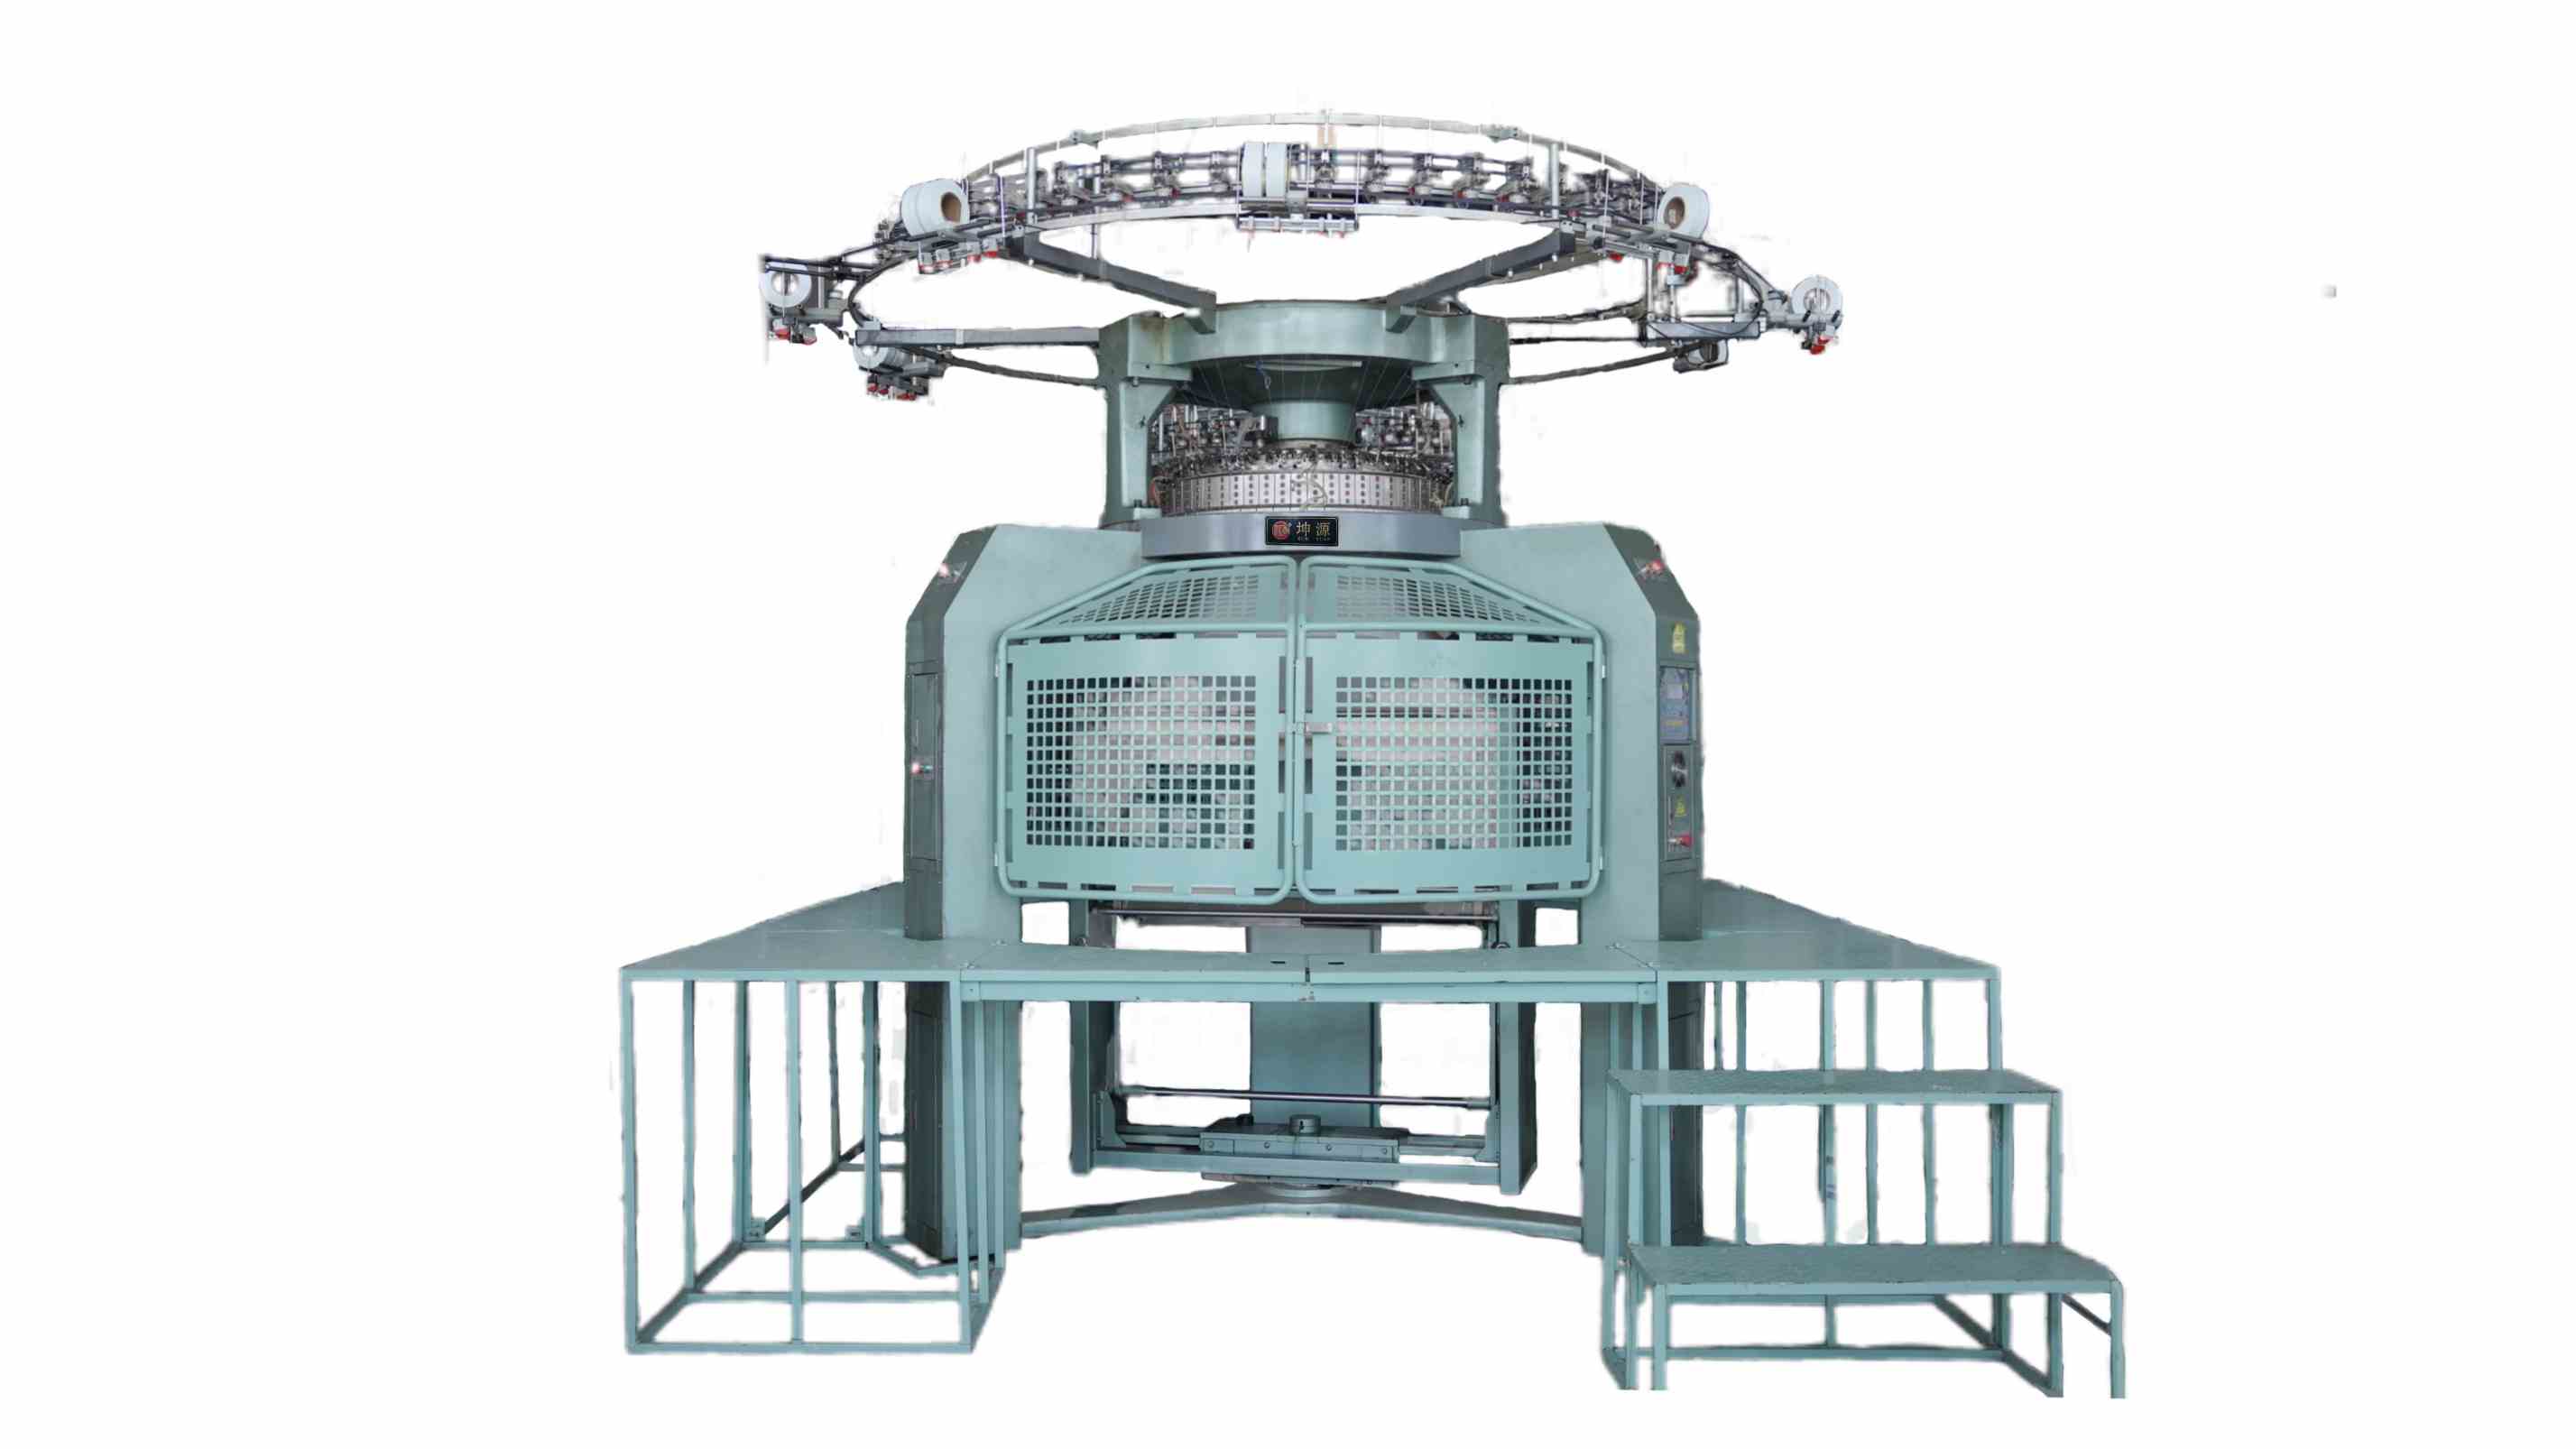
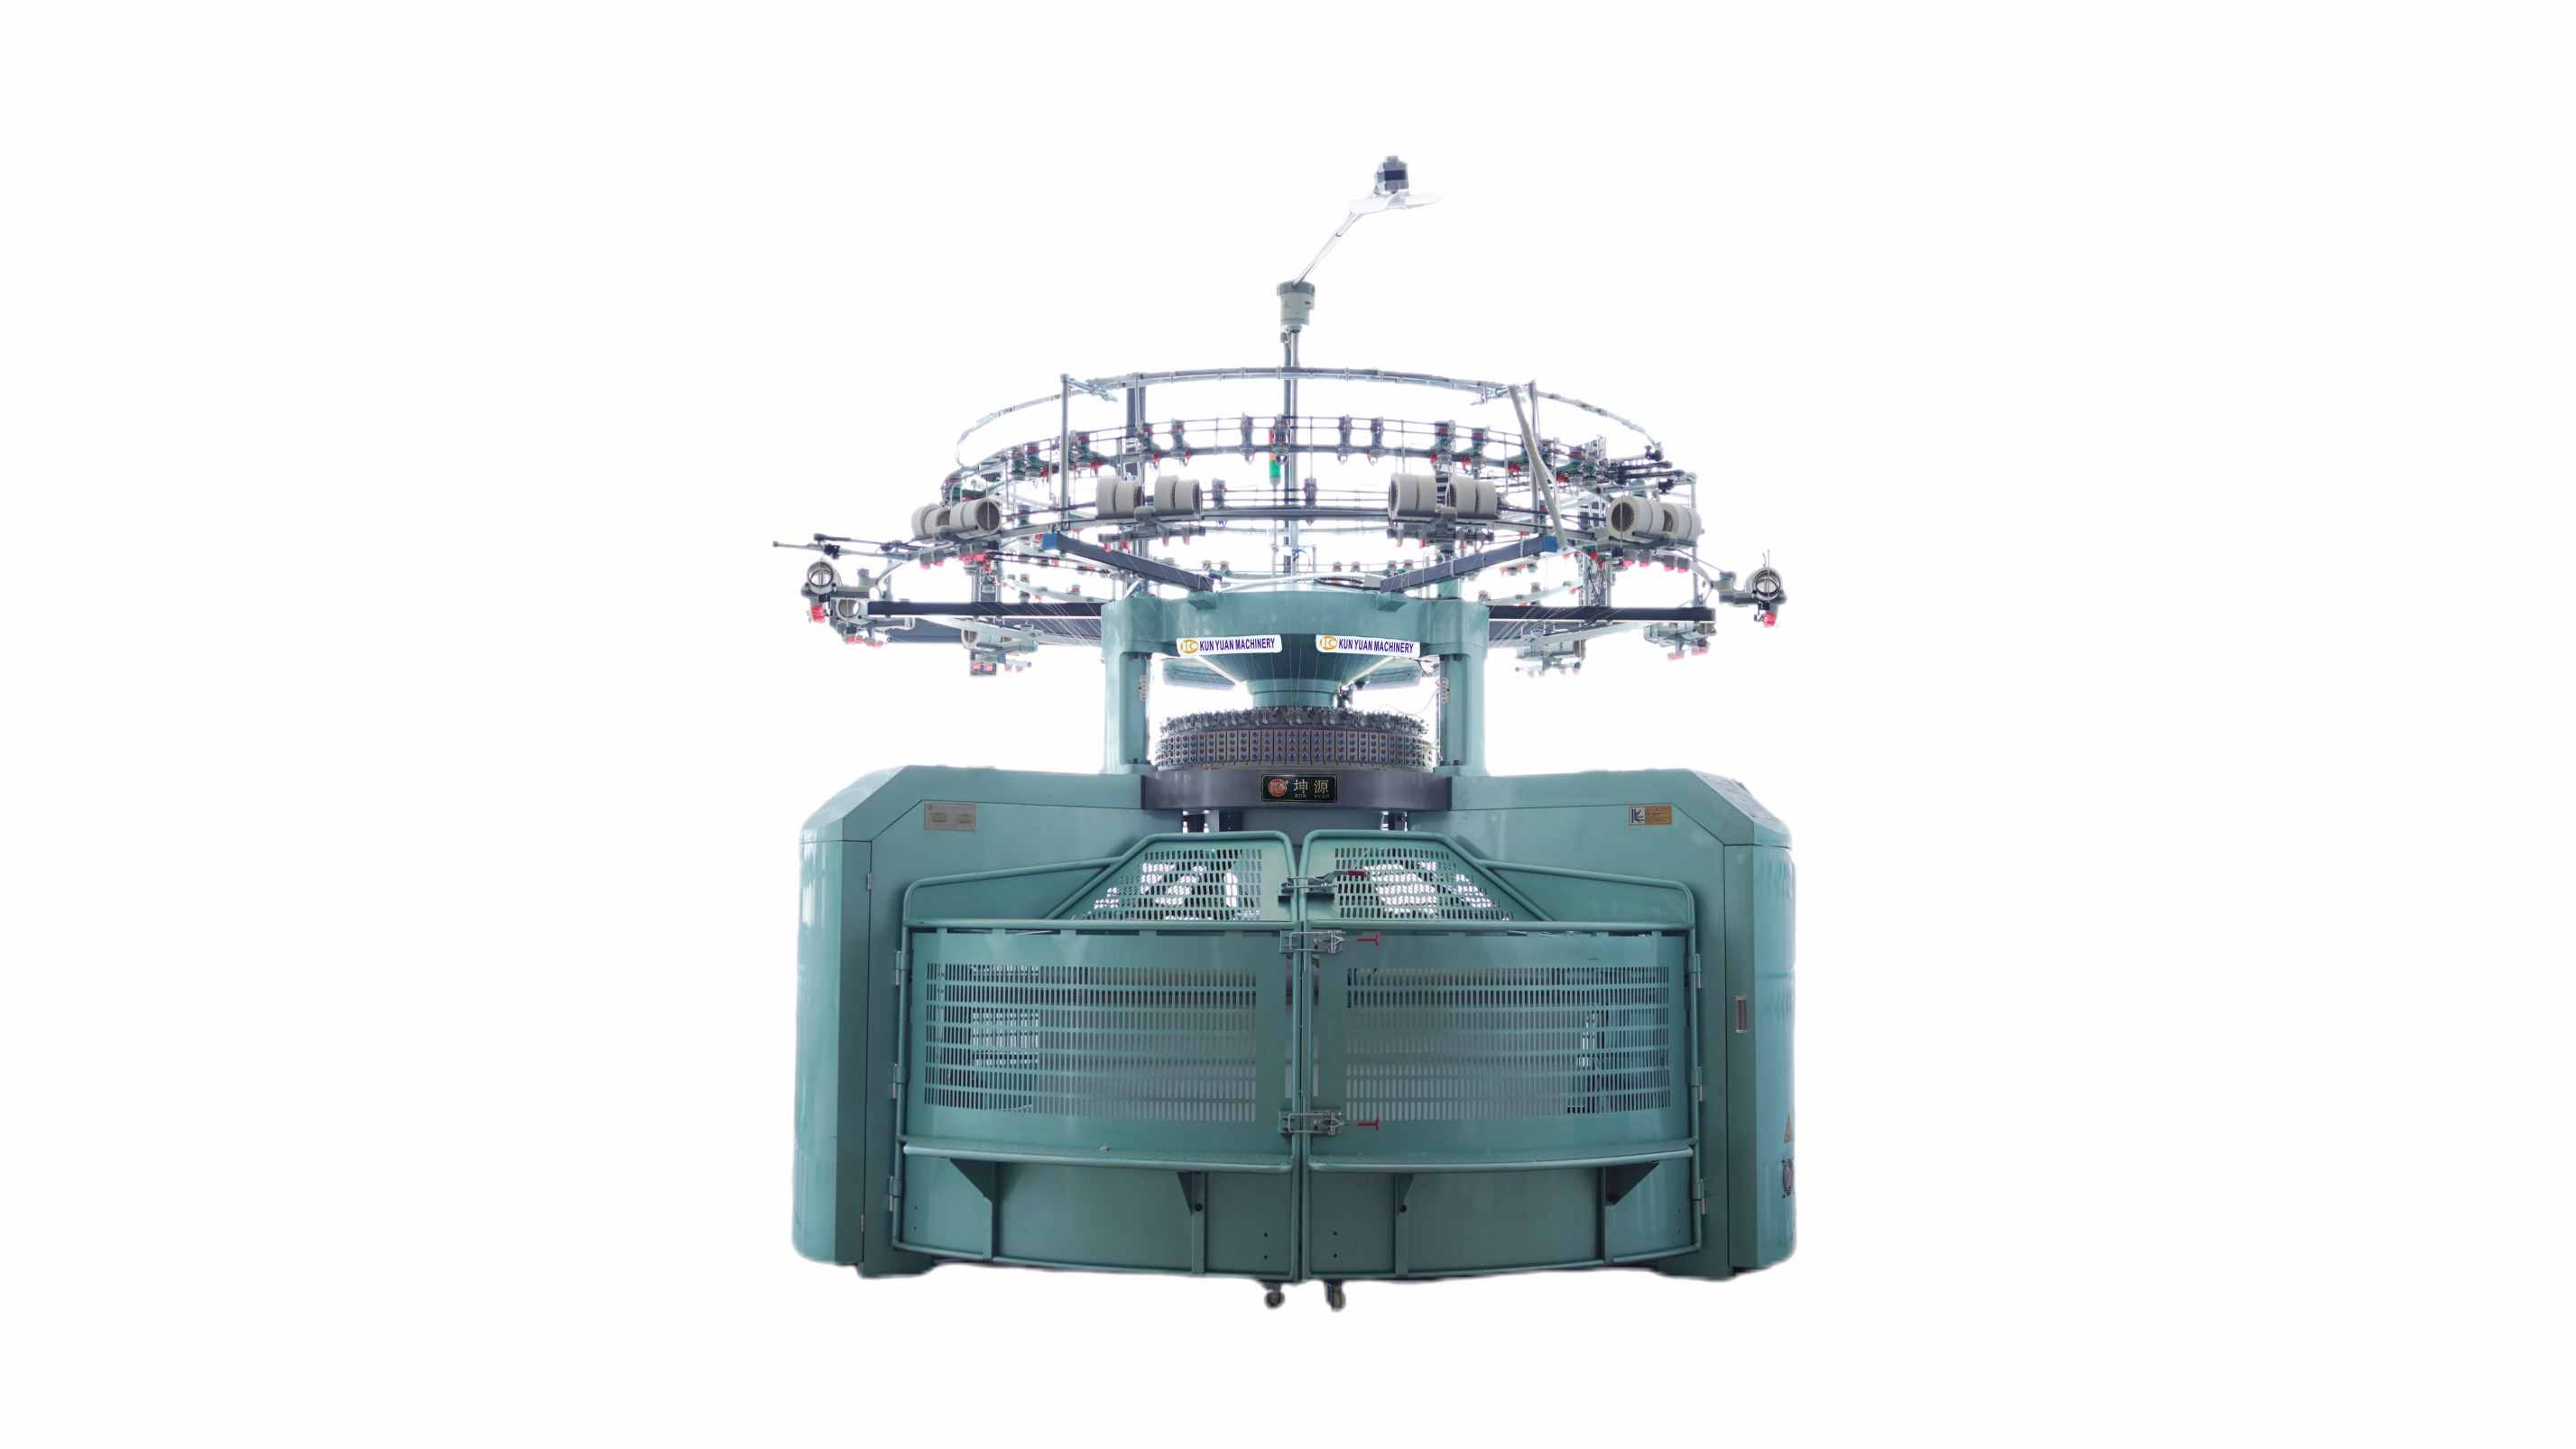
Apply the service log alongside approved element data for the circular knitting machine range and keep inspection or adjustment inside the manufacturer's qualified maintenance boundary.




 Tel: +86-13859034518
 Email: info@kunyuanmachine.com
 MP/WhatsApp: +86-13859034518
 Manufacturer Address:Bacuo Village, Yonghe Town, Jinjiang City, Fujian Province