Needle replacement should begin with a traceable fault pattern and end with a verified fabric recovery
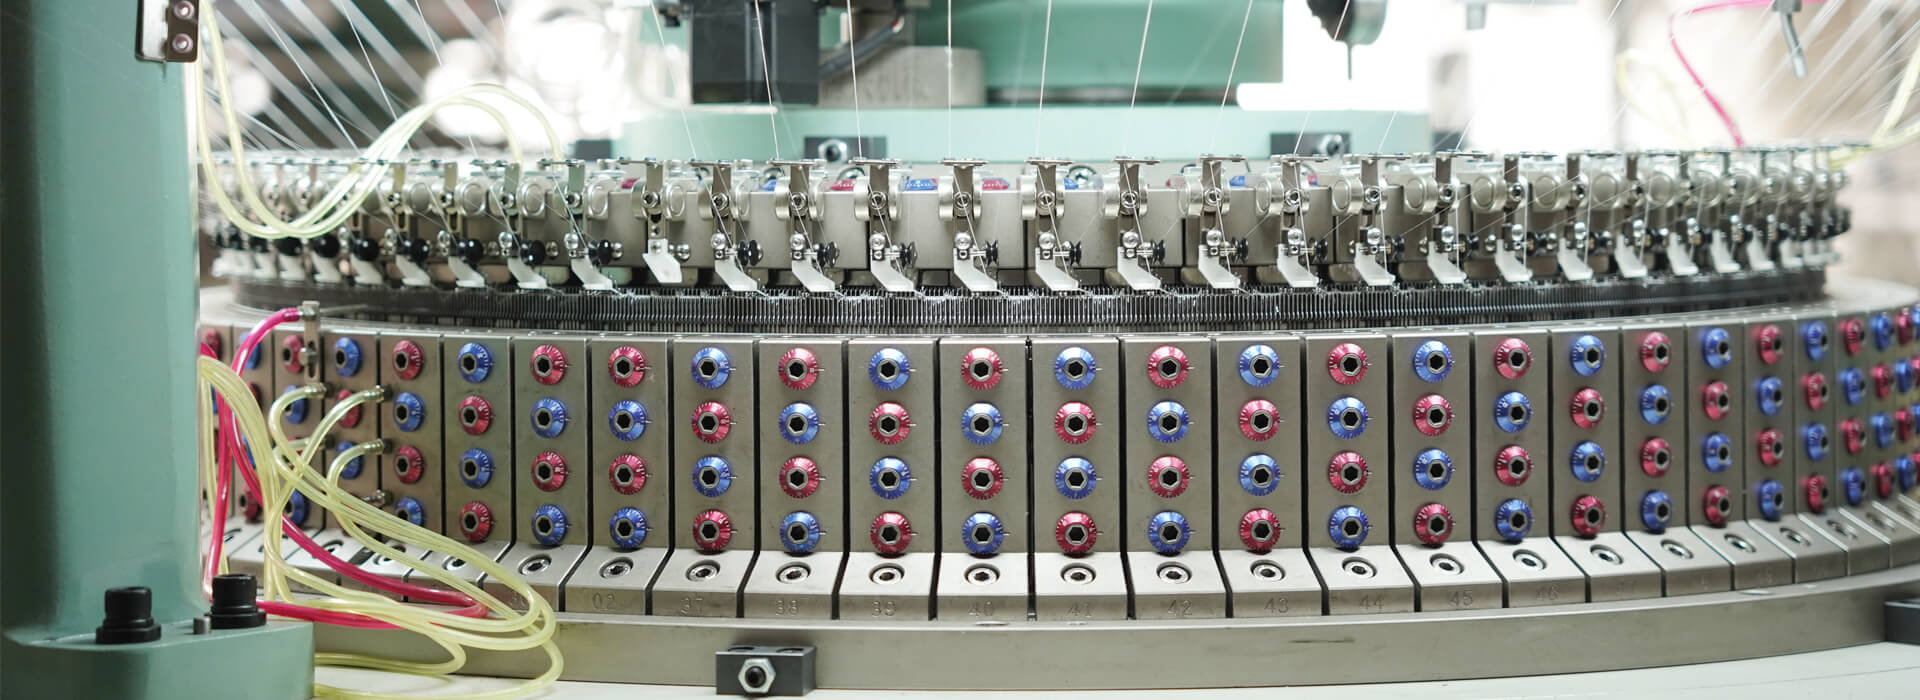
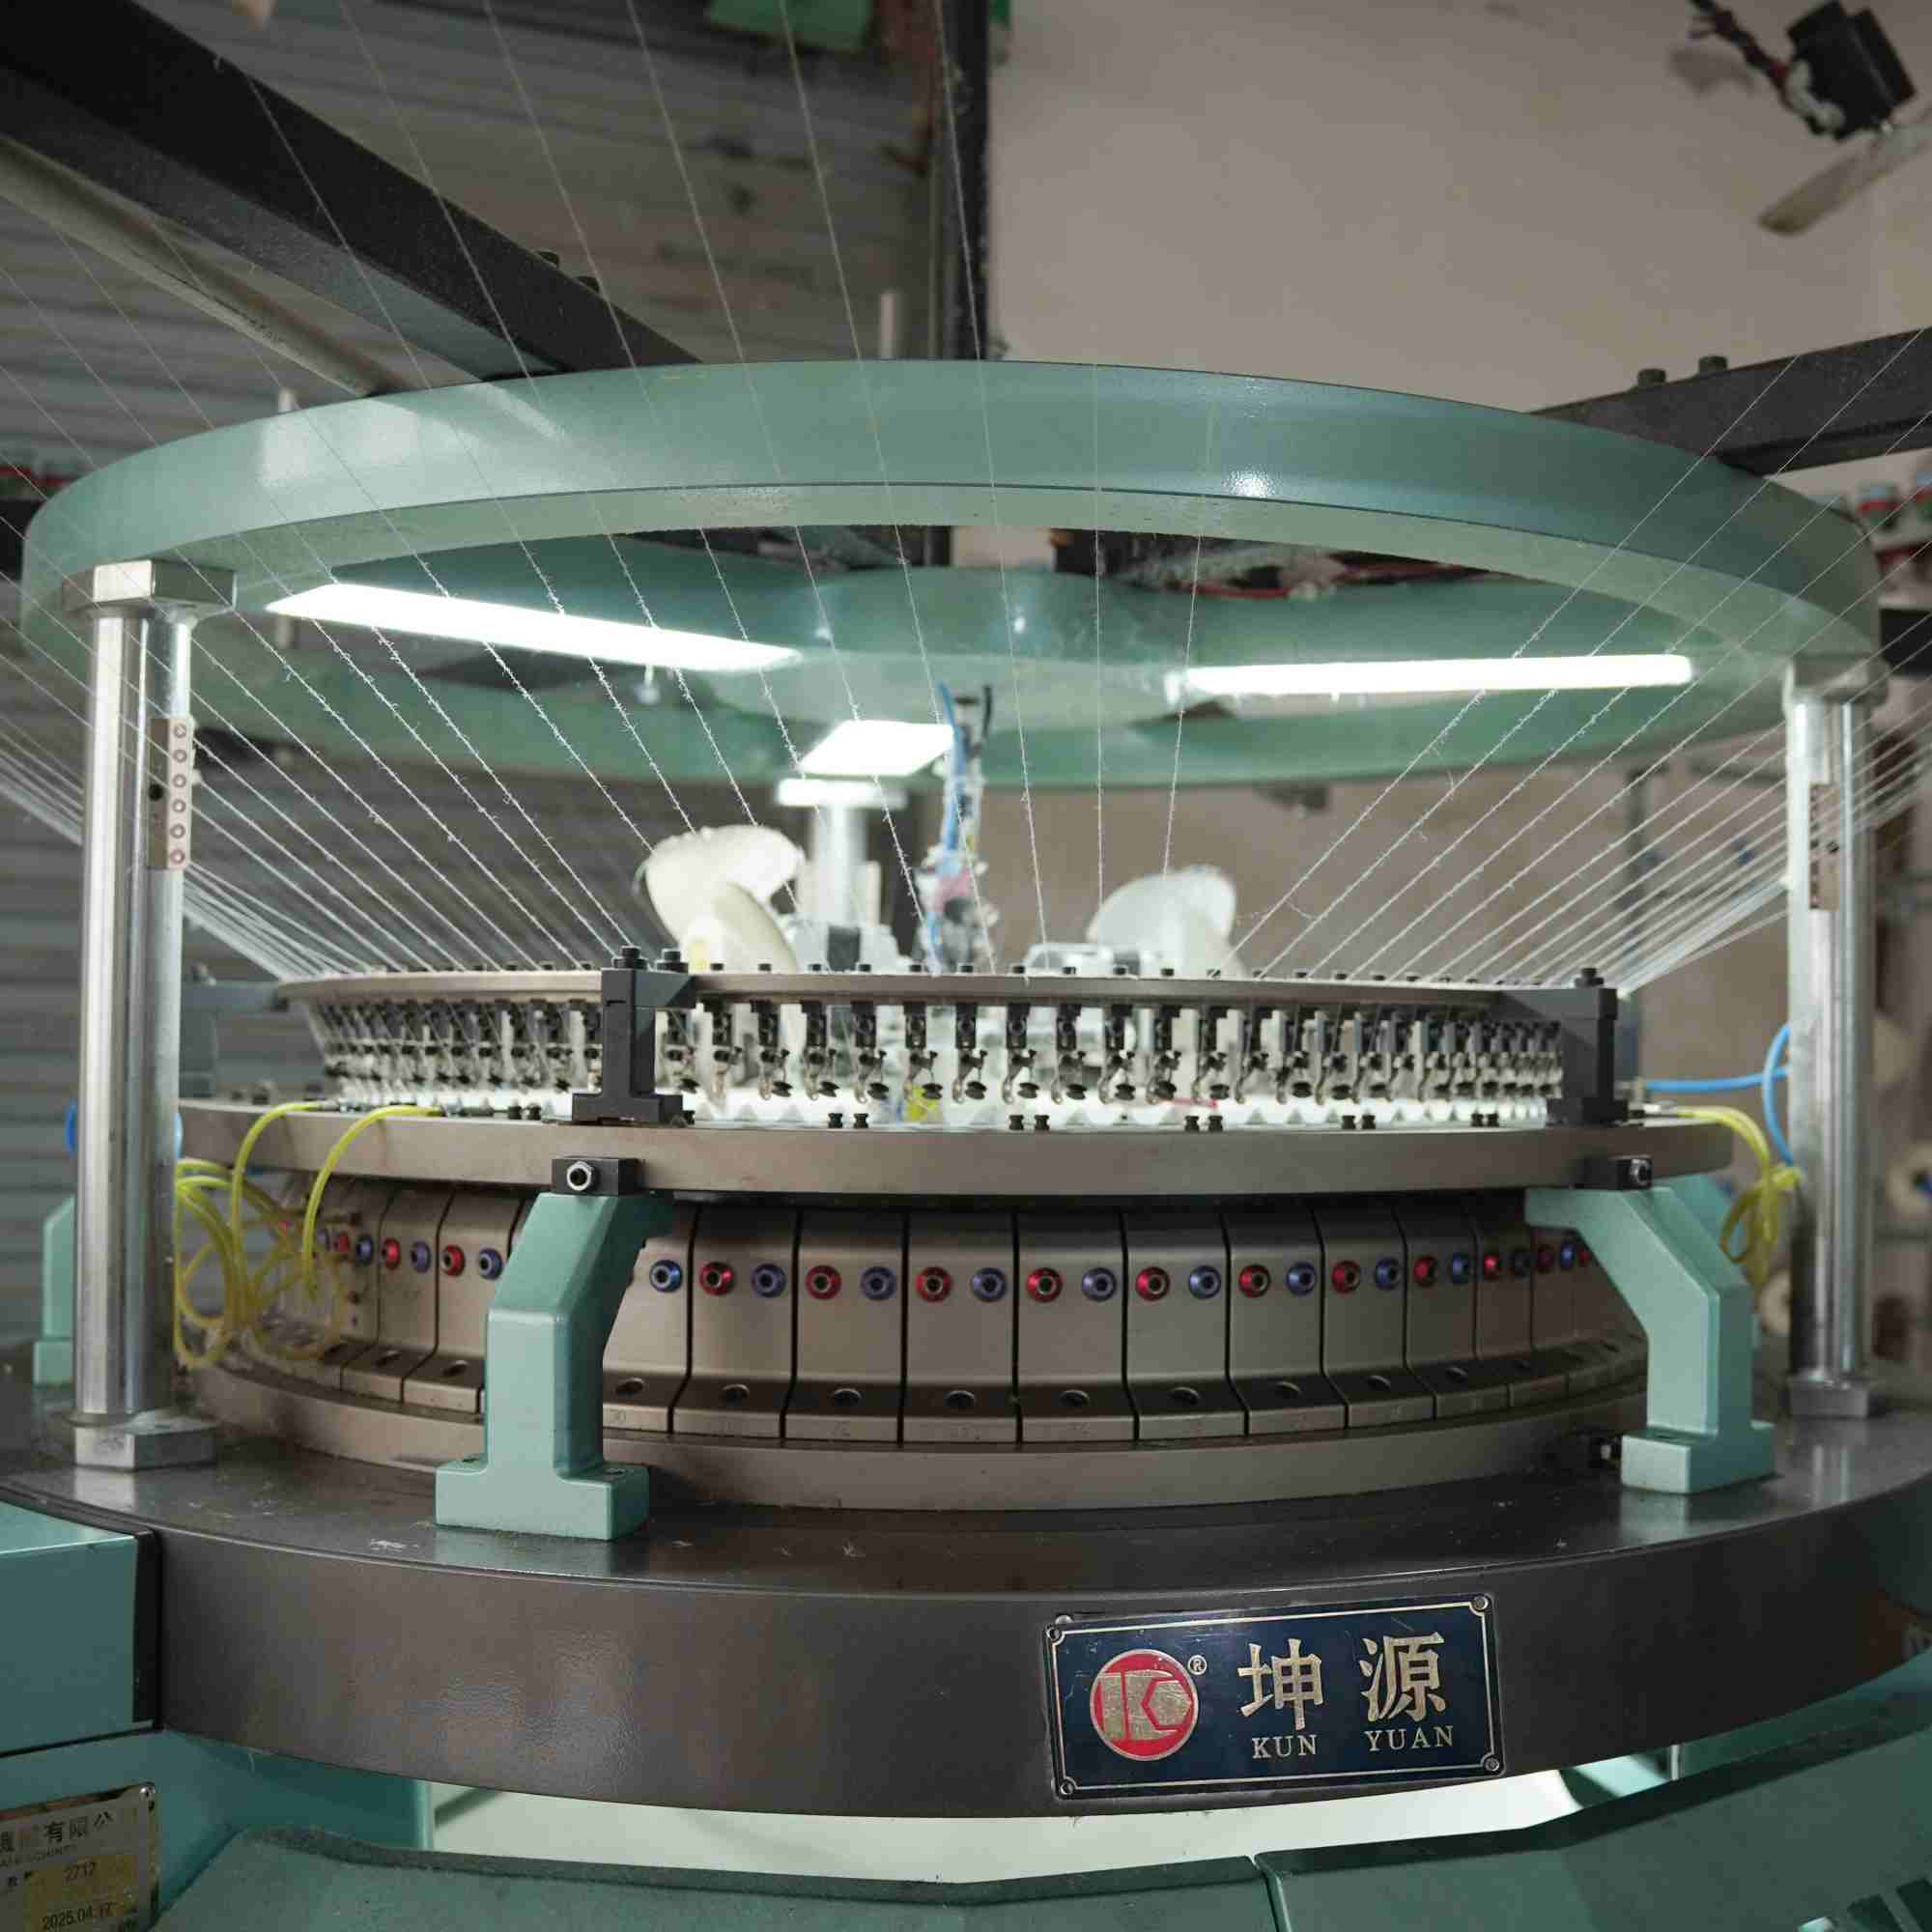
Circular-knitting needles work as part of a knitting system with cams, sinkers or dial elements, yarn and lubrication. Wear decisions are reliable only when part identity, machine position and fabric evidence remain connected.
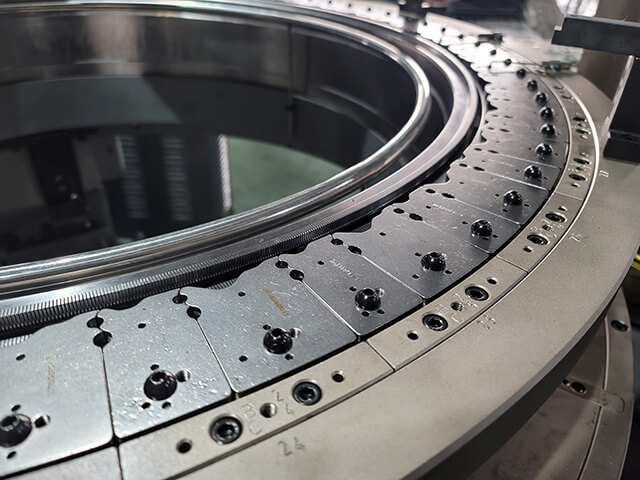
Build a needle register for the exact machine, gauge and knitting position. Record the approved needle designation, supplier and lot, installation date or operating basis, cylinder or dial location where relevant and the related sinker or system parts. Keep unopened reference pieces and controlled drawings. A visually similar needle is not proof of interchangeability; dimensional and functional compatibility must come from the machine and element suppliers.
Groz-Beckert presents needles and other knitting elements as coordinated products for defined applications, while circular-machine manufacturers publish model families with different knitting arrangements. Those sources support system-level selection, not universal replacement intervals. Fabric structure, yarn abrasion, machine condition, contamination, lubrication and operating history can change wear. Use inspection and controlled trials to establish the site's replacement plan.
Preserve the fabric line, hole or dropped loop before touching the needle bed
When a fault appears, mark the roll before cutting it away. Photograph both faces, note the course and wale directions and determine whether the mark repeats around the circumference or over time. Record style, yarn lots, speed state, stops, recent cleaning and any changed component. A vertical line may be associated with a recurring element position, while a horizontal band may follow a time-based event, but neither geometry proves a needle cause by itself.
Compare yarn paths, guides, feeders, sinkers, cams, take-down and handling evidence before opening a replacement action. Preserve alarms and operator notes. If the team replaces several needles and changes yarn delivery simultaneously, the recovery cannot validate the diagnosis. The service log should narrow the suspect location while the original fabric evidence is still available.
Classify hook, latch, stem and butt evidence under the approved procedure
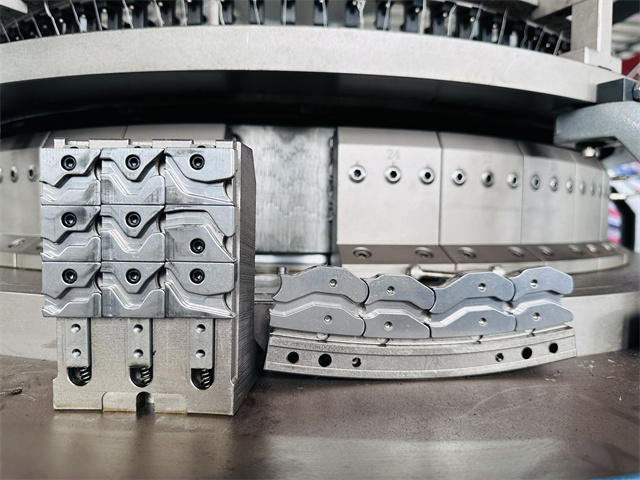
Inspection and removal must follow the model's safe procedure and the site's hazardous-energy controls. Do not reach through guards or rotate equipment by improvised methods. Once a suspect element is safely removed, record its exact position and orientation. Compare it with an approved reference for hook shape, latch movement, stem condition, butt contact, deformation, corrosion, contamination or unusual polish. Avoid declaring a universal wear limit from a photograph.
Look for correlated evidence on adjacent needles, sinkers, cam tracks and yarn-contact parts. One broken hook may follow a local collision, while distributed abrasion may point to yarn, contamination or a broader system condition. Retain representative removed pieces by position and lot. A service decision is stronger when the physical component, fabric mark and machine history agree.
Decide between a localized correction, monitored group or planned set change
A single confirmed accidental damage may support a localized replacement and close observation. Repeated failures in one zone may justify inspecting a defined group and its interacting parts. Distributed wear, mixed unknown lots or an approaching product change may support a planned set strategy. Document the reason rather than replacing every needle automatically or continuing isolated swaps indefinitely.
Issue only the approved designation and keep replacement lots separated and traceable. Confirm orientation and installation with the manufacturer's procedure. Review related elements, cleaning and lubrication tasks that belong to the same service window. Do not use a new needle to mask a damaged cam, wrong sinker, unstable yarn path or bed-coordination problem. If compatibility or cause remains uncertain, hold the machine for qualified technical review.
Mark the restart and verify fabric before returning the machine to its old target
After approved replacement, start under the documented procedure and mark the first fabric. Observe the relevant circumferential positions and enough length to cover the original repeat interval, package events and a planned stop-restart where appropriate. Compare the same yarn, structure, settings and inspection method whenever possible. A short clean section immediately after intervention is not sufficient evidence for a defect that occurred intermittently.
Release in stages. First confirm safe operation and loop formation, then inspect both faces, width and surface, and finally process a labelled piece through the required relaxation or finish. Record accepted and rejected length. Update the needle register with the cause classification and result. Trend failures by position and lot so future replacement planning is based on the machine's evidence rather than a calendar copied from another mill.
Treat the needle as one element in a coordinated knitting system.Preserve defect geometry before selecting a replacement scope.Close service only after the original repeat interval passes.
Needle wear and replacement decision log
Evidence pattern
Check before replacement
Possible scope
Release proof
One mapped defect
Needle and interacting local parts
Localized approved replacement
Original position stays clean
Repeated zone failures
Group condition, cam and yarn path
Defined group inspection
Zone passes repeat interval
Distributed wear
Lots, hours basis and system condition
Planned set strategy
Full-width trial passes
Uncertain compatibility
Part designation and supplier confirmation
Hold for technical review
Written compatibility plus trial
Circular-knitting needle service questions
Does every vertical fabric line come from a worn needle?
No. Map the geometry and compare yarn delivery, sinkers, cams, bed elements and take-down before assigning the cause.
Can visually similar needles be substituted?
No. Use the approved designation and written compatibility for the exact machine, gauge and knitting position.
Should one broken needle trigger a complete set replacement?
Not automatically. Choose the scope from failure distribution, interacting-part condition, lot history and the approved service plan.
How long should the recovery trial run?
Long enough to cover the original repeat pattern and relevant production events; define it from the fault record rather than a universal duration.
What should be retained after replacement?
Keep the removed part, position and lot record, before-after fabric, start mark, intervention details and release result.
Conclusion
Needle technology becomes manageable when component identity and fabric evidence stay linked. Capture the symptom, inspect the knitting system safely, choose a justified replacement scope and prove recovery over the original fault interval. The resulting history supports better spare planning and avoids both premature set changes and repeated unverified repairs.
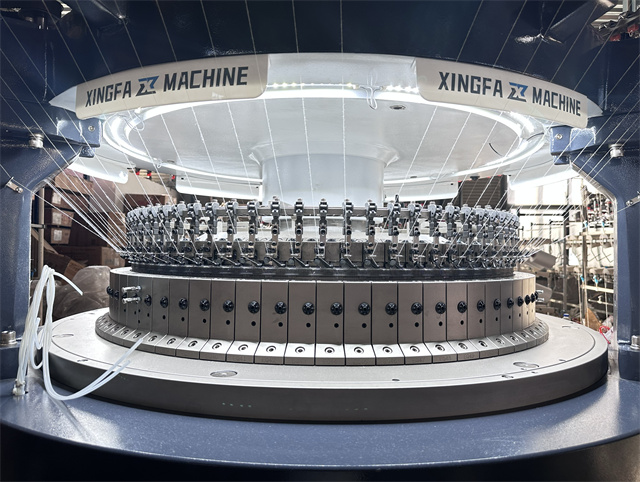
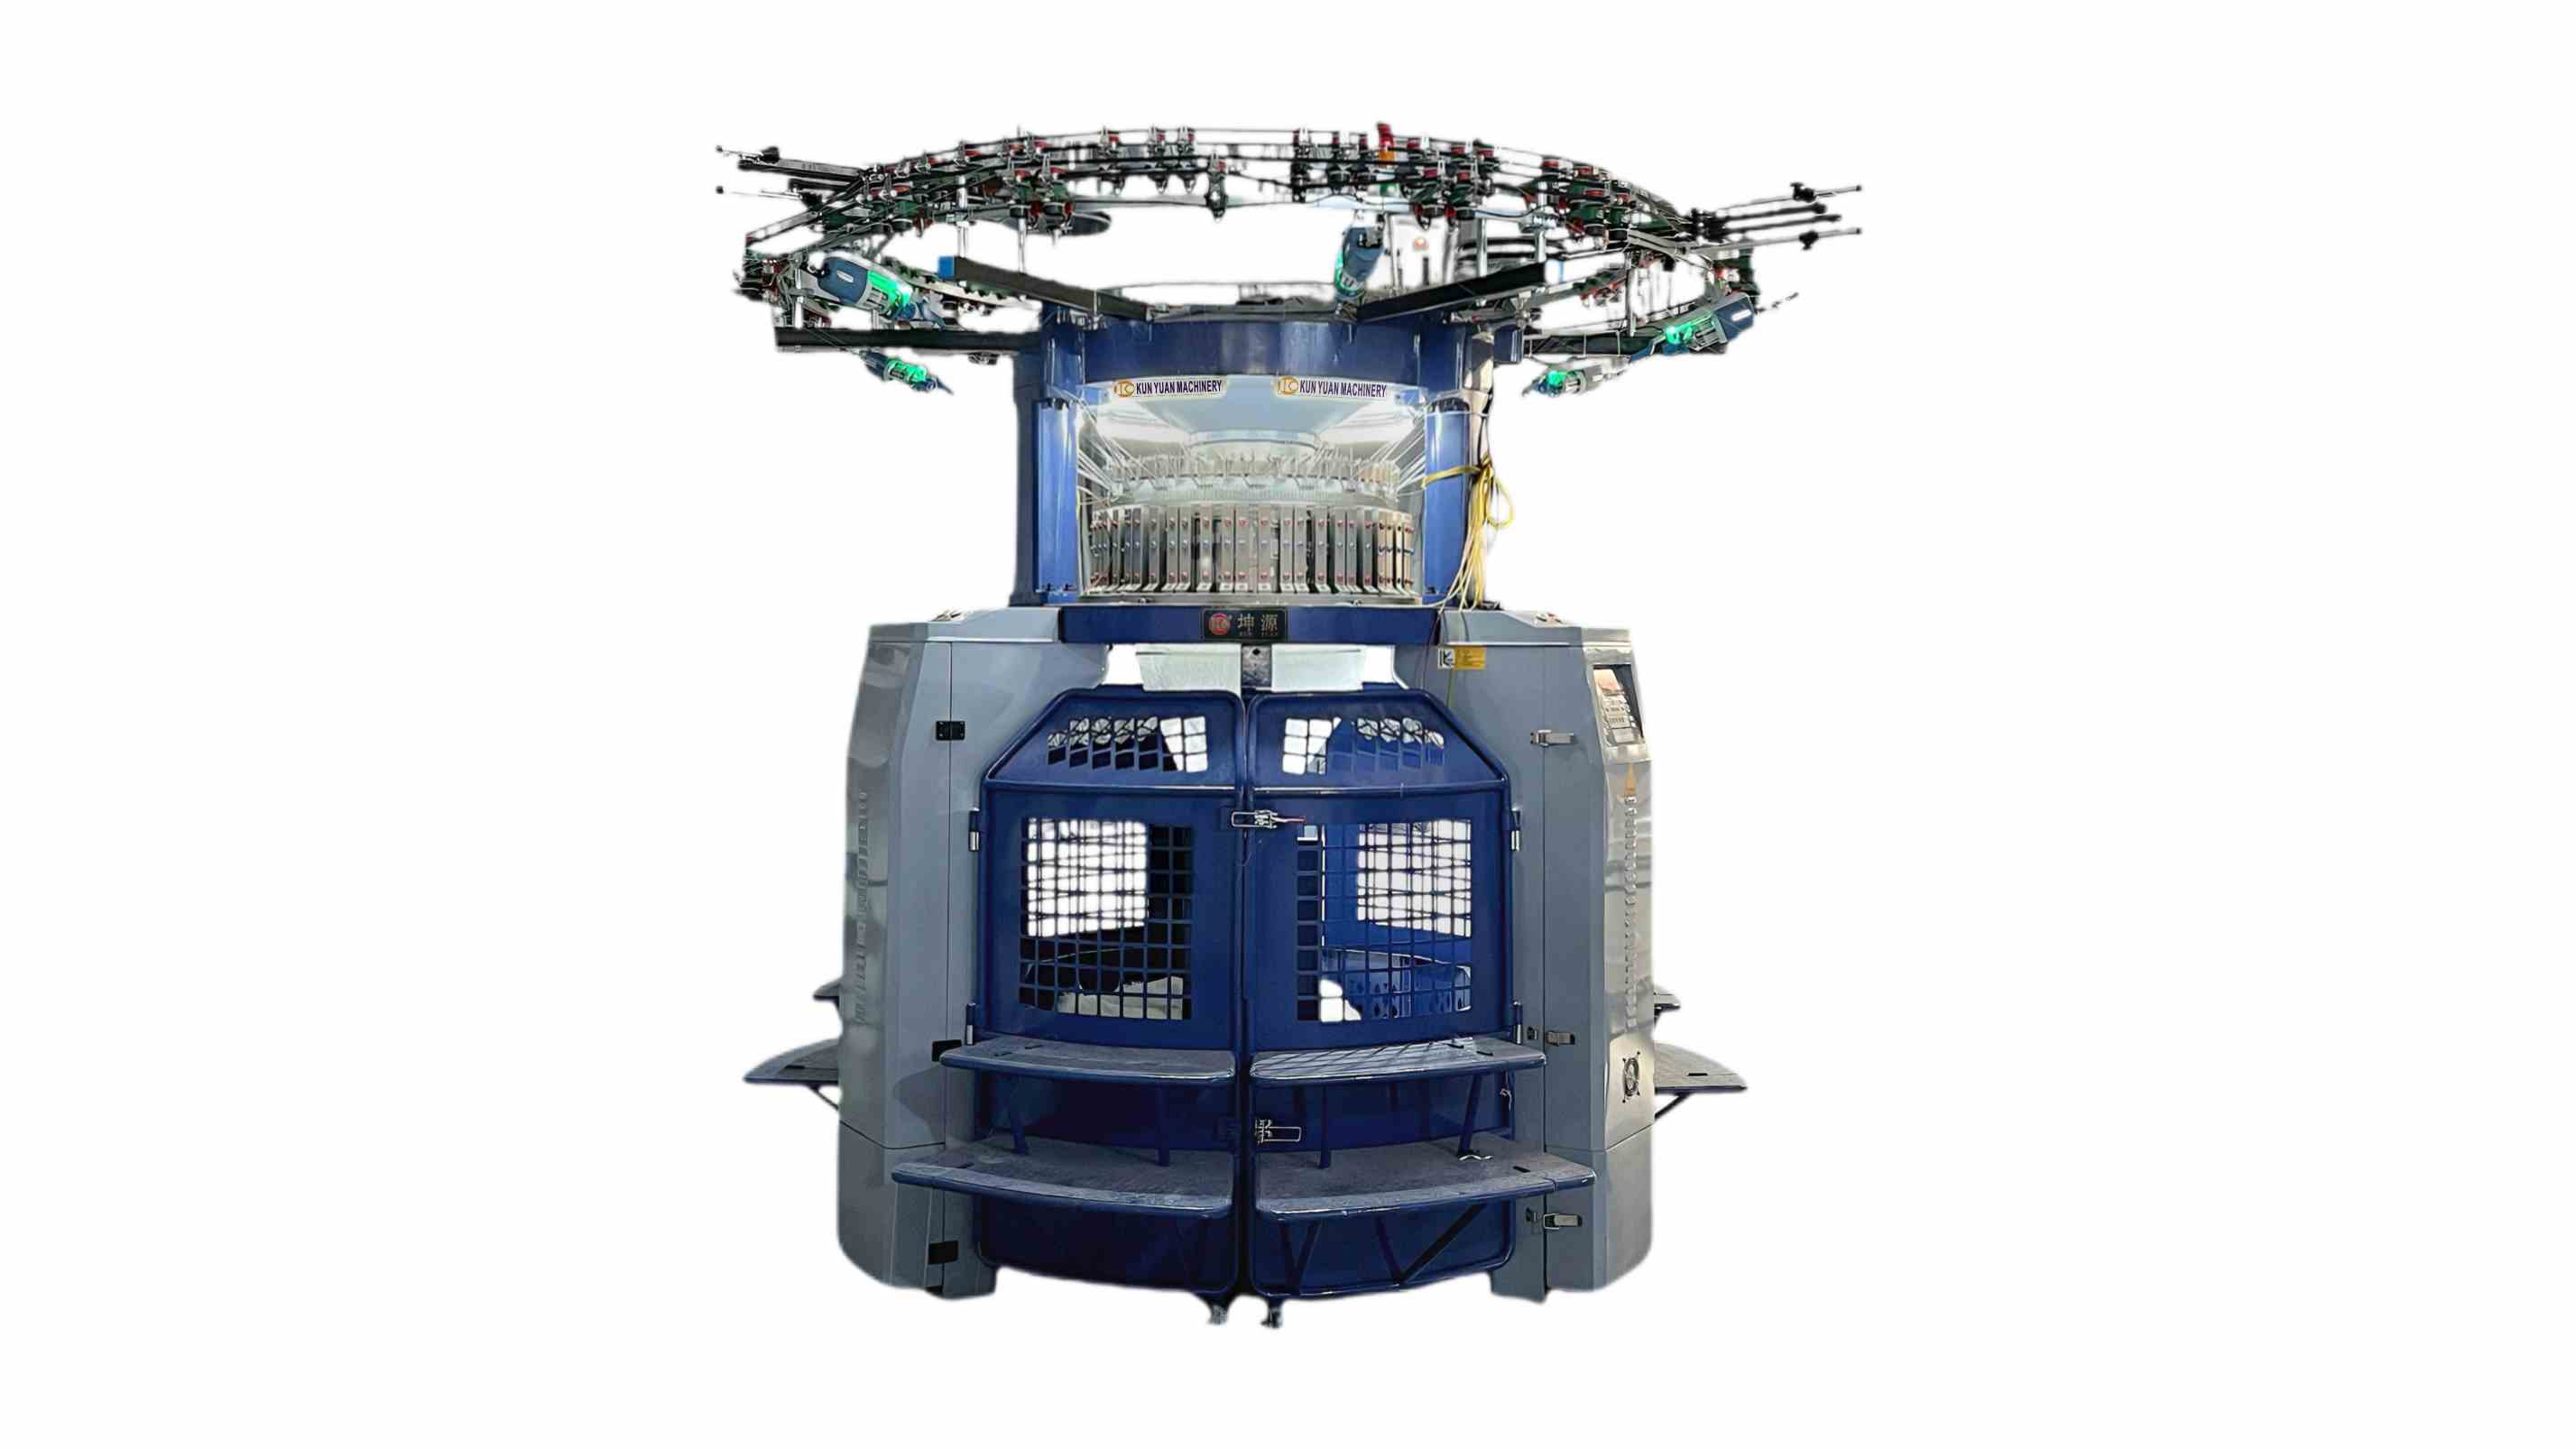
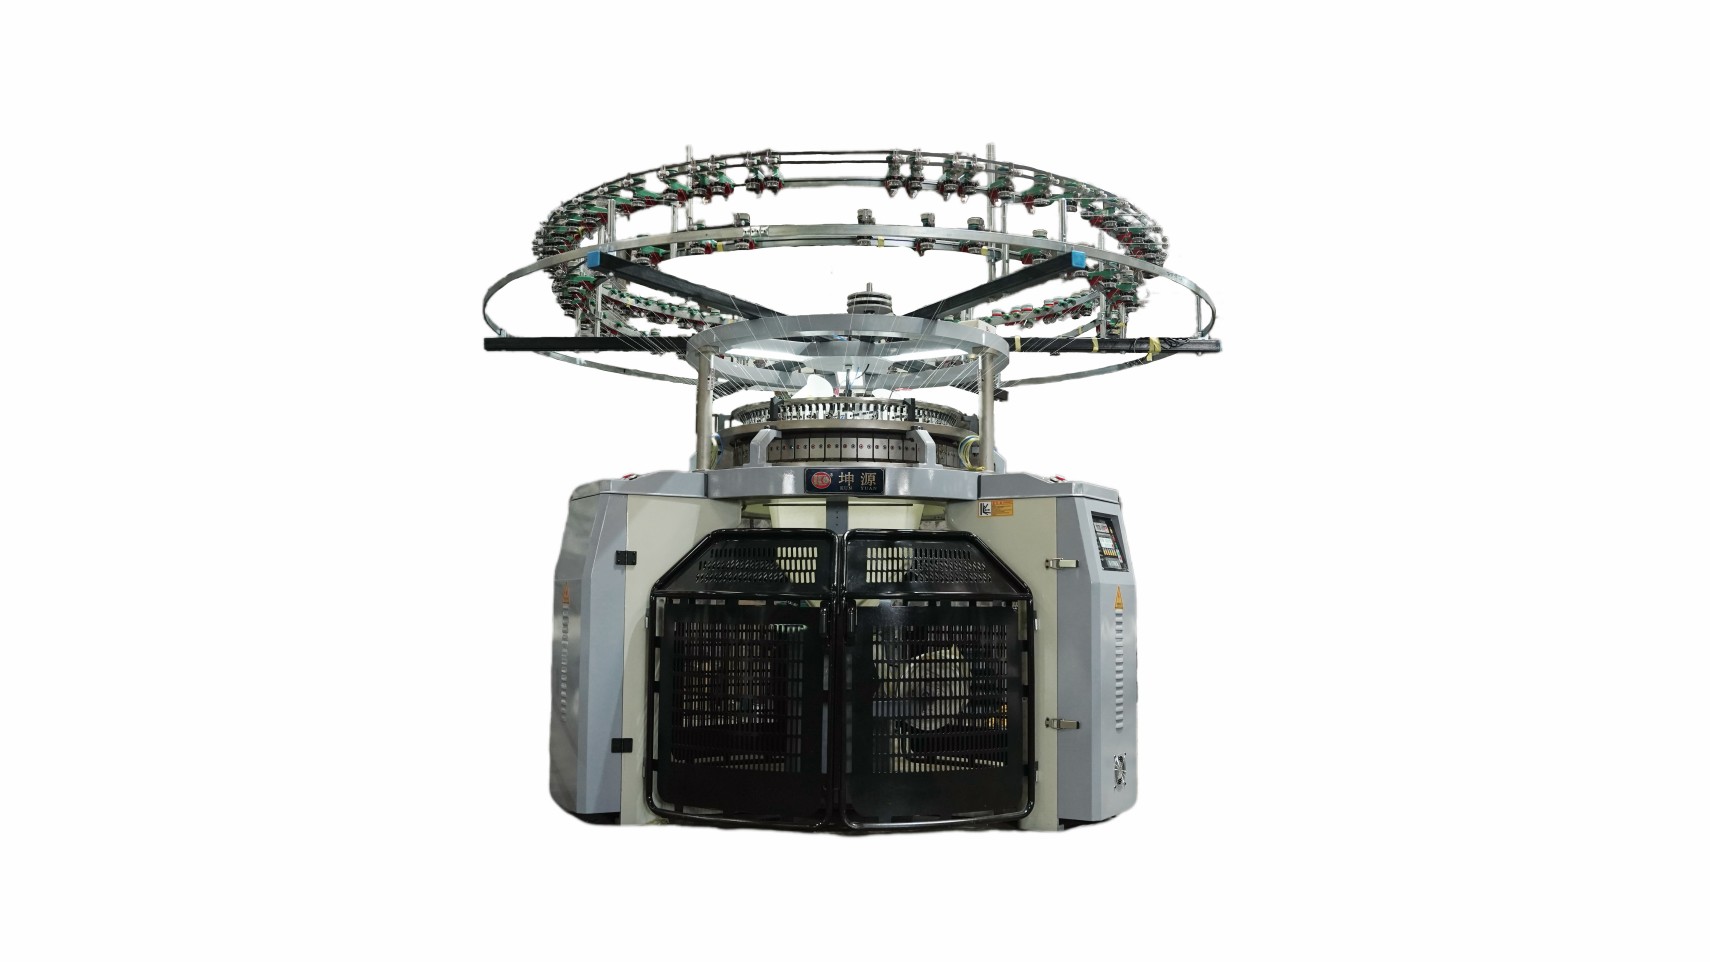
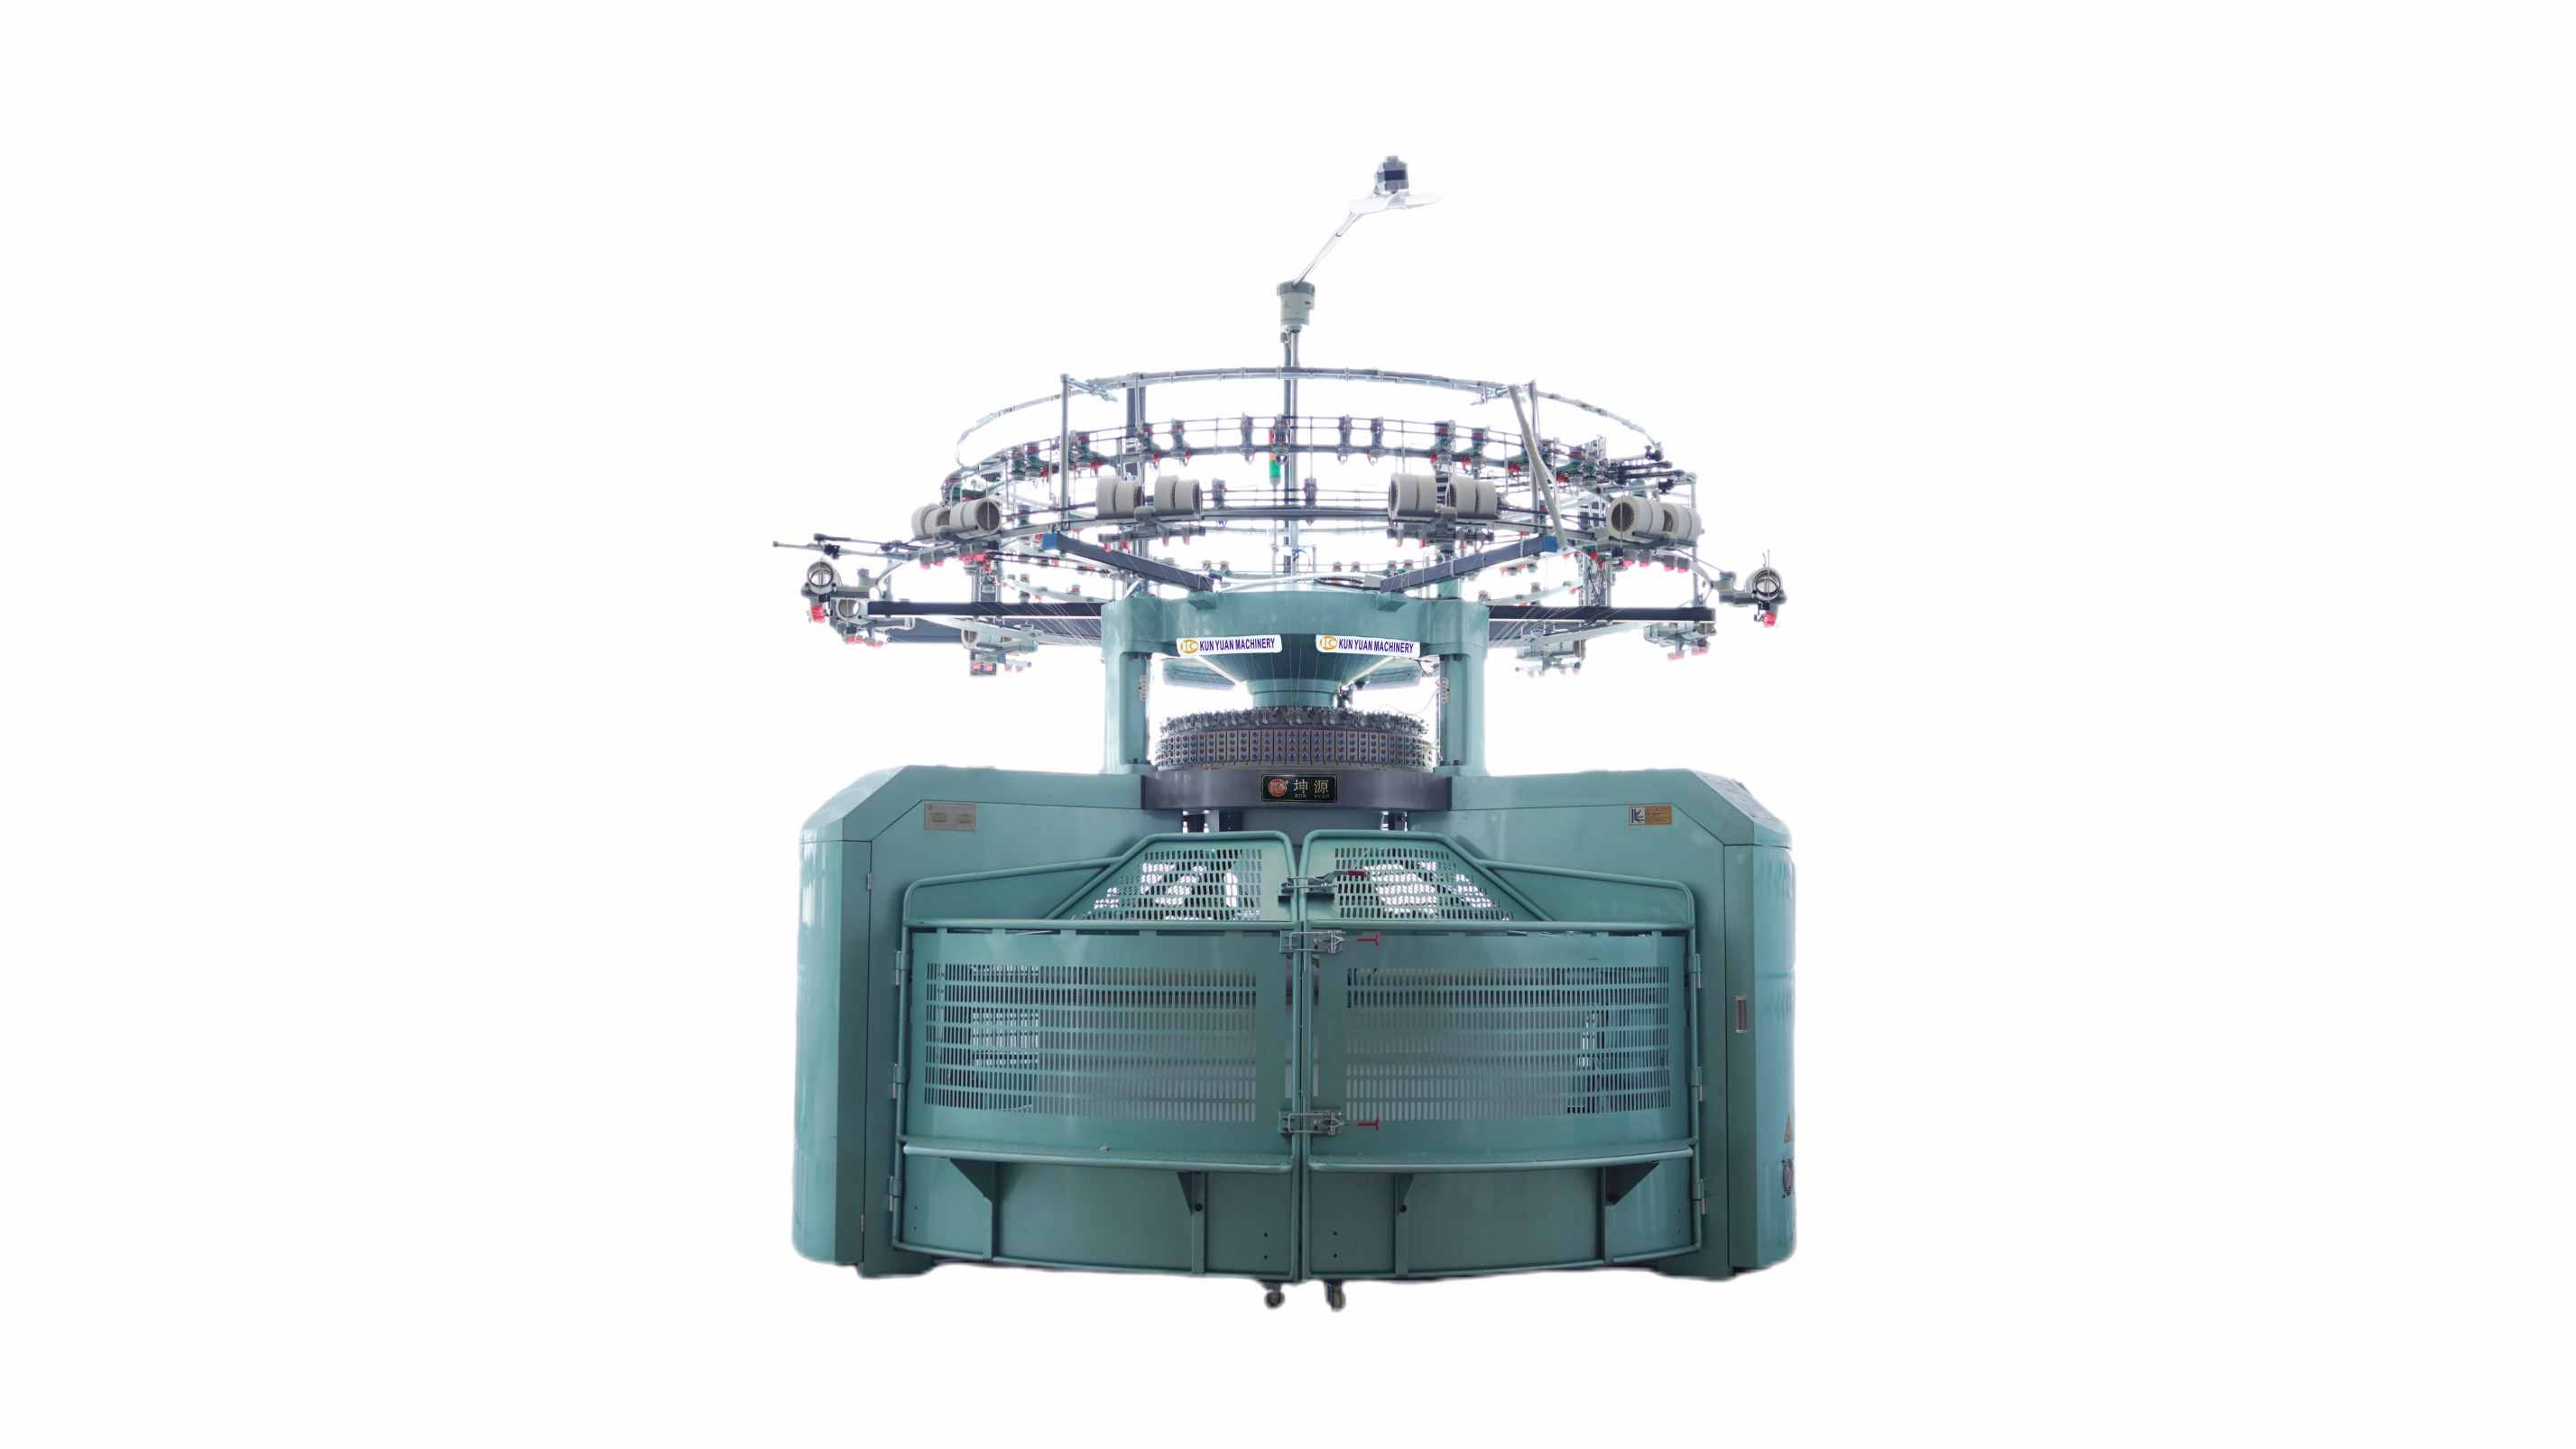
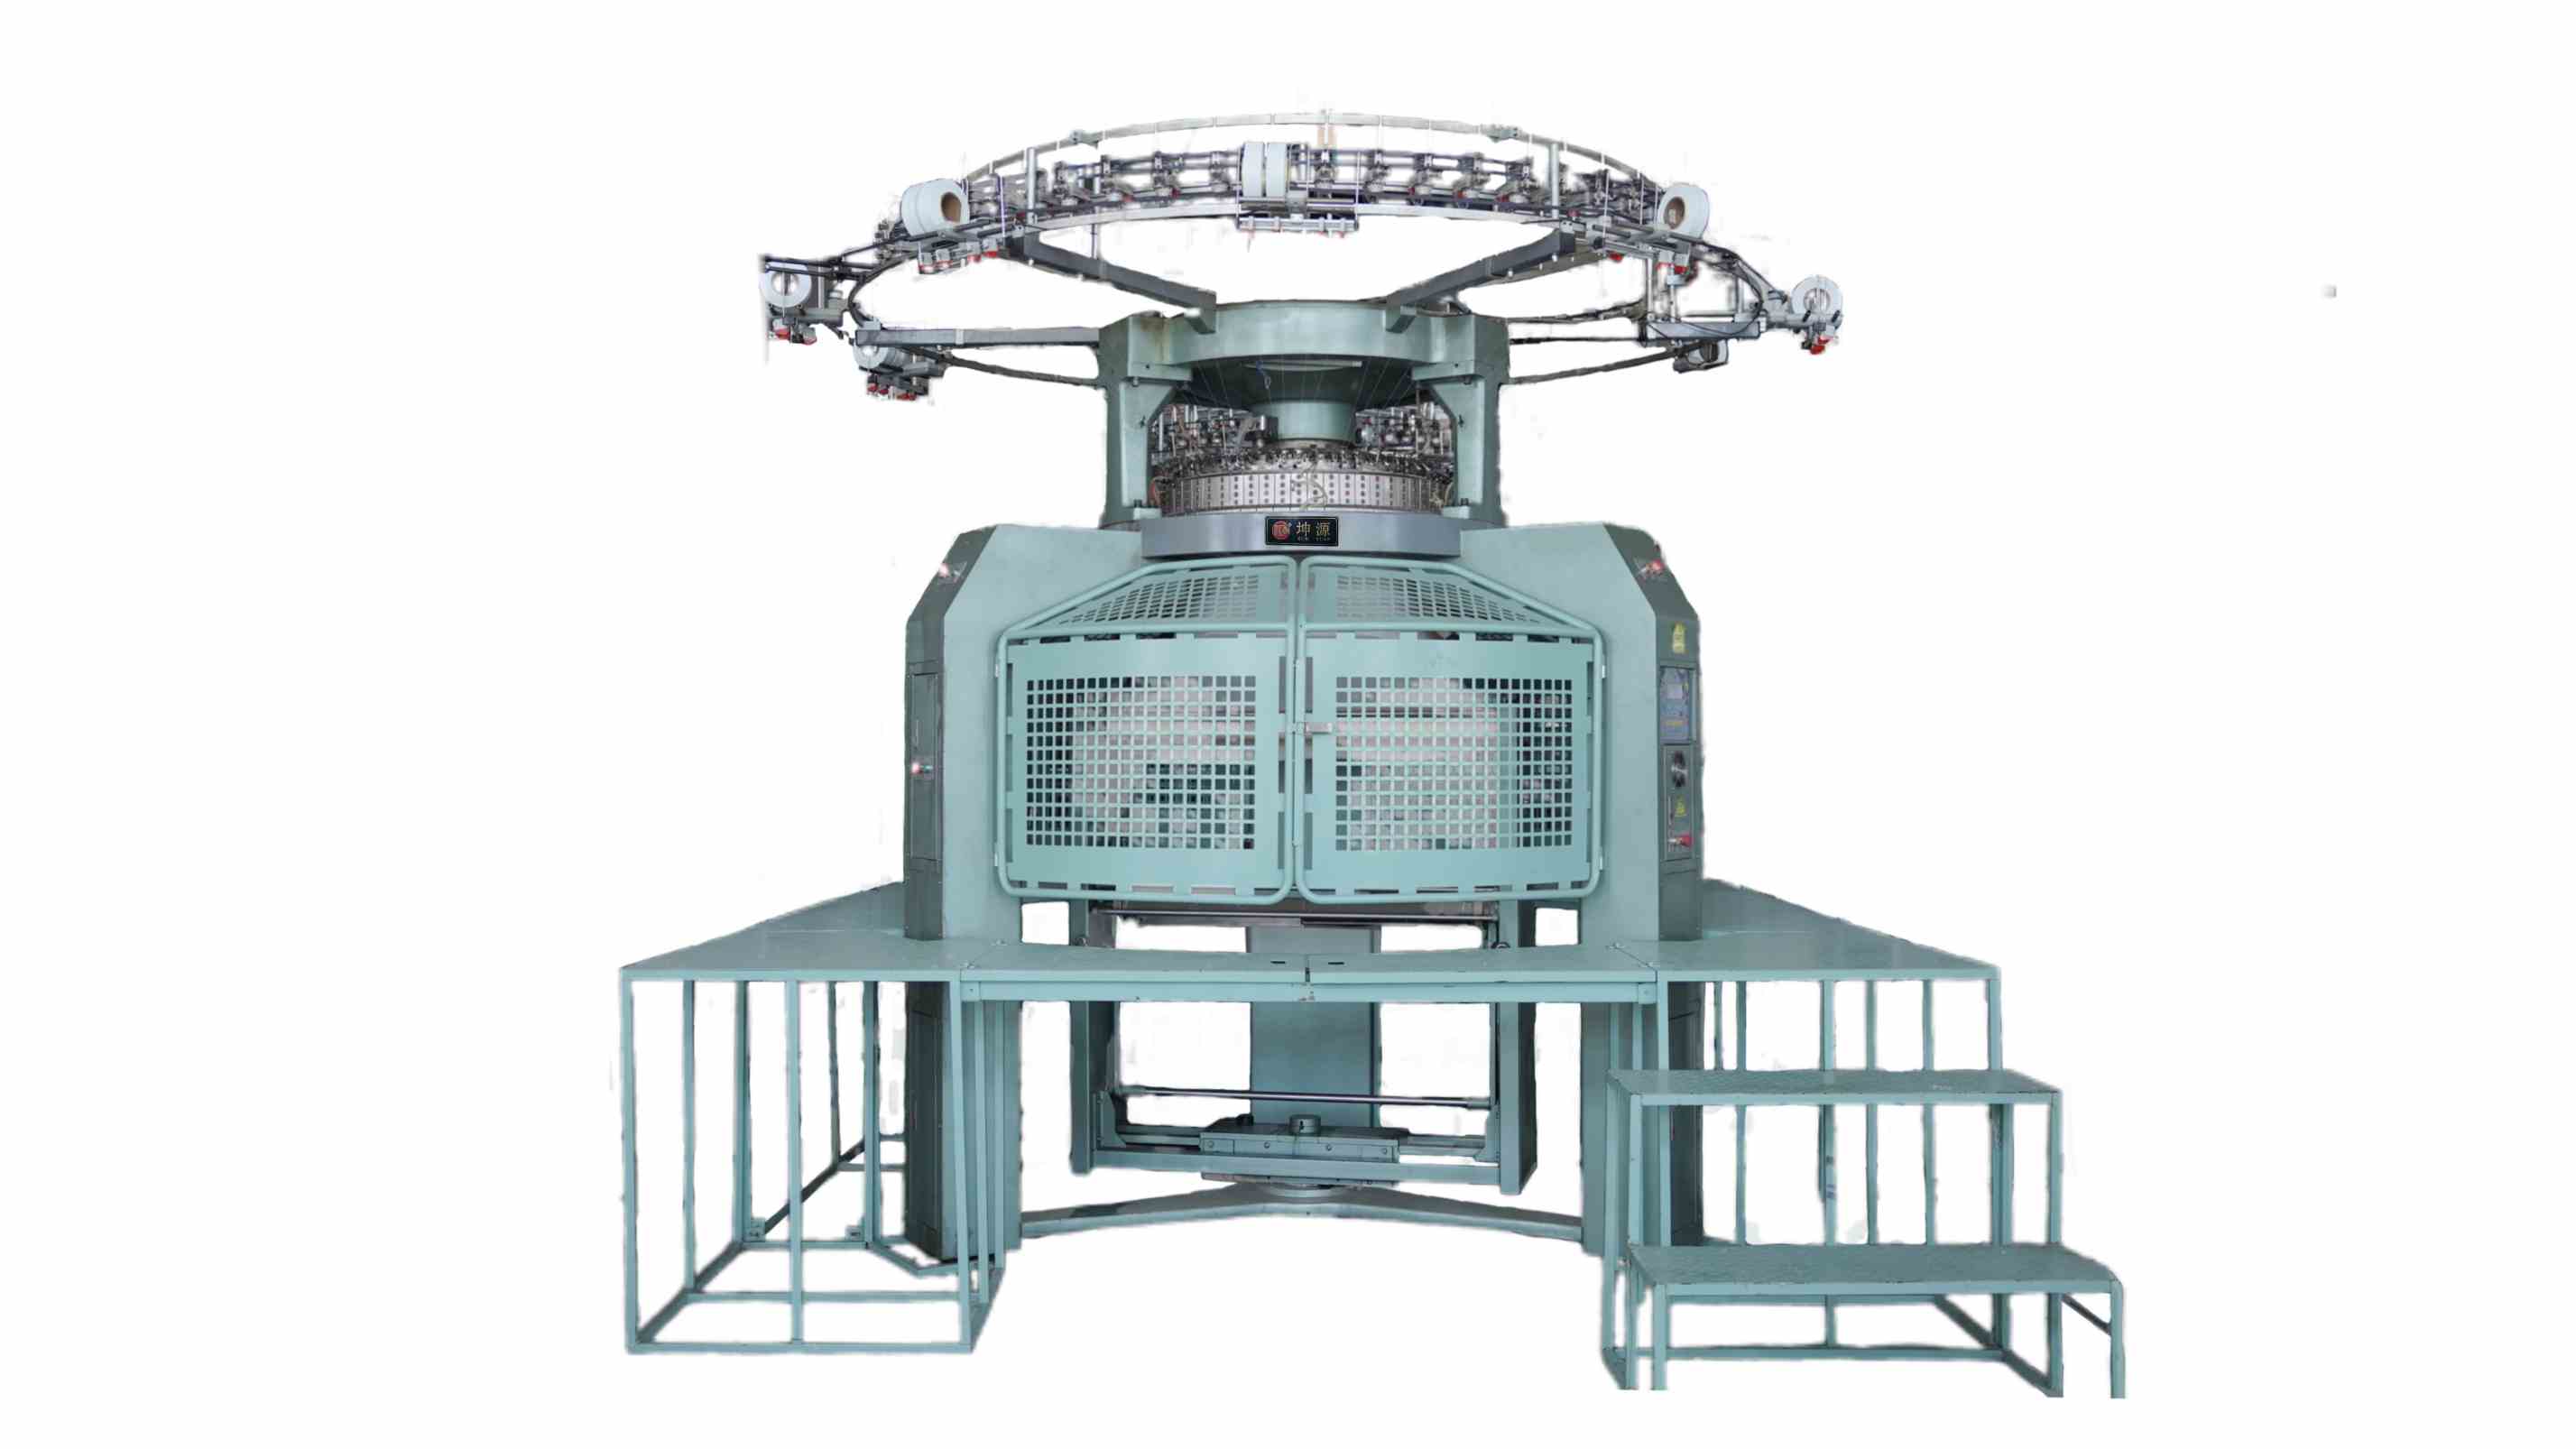
Use this needle service log when reviewing the industrial circular knitting machine range and request the approved knitting-element schedule, spare-lot traceability and marked recovery trial for the offered configuration.




 Tel: +86-13859034518
 Email: info@kunyuanmachine.com
 MP/WhatsApp: +86-13859034518
 Manufacturer Address:Bacuo Village, Yonghe Town, Jinjiang City, Fujian Province